13.02.2018

White Balance or White Point
A correct set white balance or white point is to avoid a tint in the colors and the light. When the settings are not correct you will get a color cast in your pictures, in other words wrong colors. You could say now that doesn’t matter because I’m editing my pictures to the maximum, but for me it is important that I work with an unadulterated base, if possible.
 5000 Kelvin
 5650 Kelvin

3000 Kelvin 8300 Kelvin
Color Temperature
When you want to describe the white point then you will need the term of color temperature. This measurement is made in degrees Kelvin. The lowest degree for a white point in photography is at 1200 degrees, that describes a red glow – a candle or a small fire. From 2200 to 2700 K the white point would be set for a light source like a weak light bulb. A light bulb produces a yellow light, so you can imagine where the scale is going. It becomes more cool and then cold, so the light becomes with every degree more blueish. From 5500 to 6000 degrees Kelvin we “see” the light as daylight, the sun at noon – a pure white. One can imagine the spectrum of color temperature as a clear and cloudless sky at sunset: On the horizon there are the reds and oranges, the lighter orange and yellow tones are above and the more you look up, the deeper the blue becomes. And that is important: The color temperature has no influence on the green and magenta axis. That means if you have a tungsten light source which is producing a greenish tone then there is no effect on it, when you set the color temperature. In Adobe Camera Raw there is an extra adjustment for this: the hue scale.
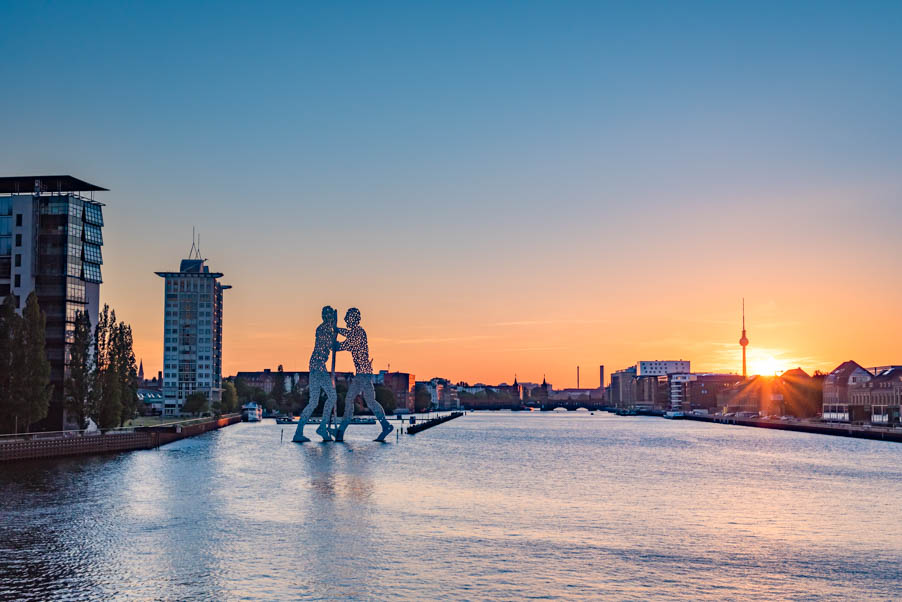 This sunset shows perfectly the gradient of the color temperature.
And in practice?
Every camera has an automatic white balance, which is doing always almost a good job what means the colors are reproduced correctly. But if you start to play around and look what is possible with much more precise white balance manually, you will get much better results. But as always, it is up to you what you want to do with your photo. Of course you can get much more precise colors but that means you need more time for this. And then there is the RAW possibility which allows me to set the color temperature afterwards. And the color temperature can be also used in a creative way. For portraits for example I want a warm picture impression, so I will set my white balance lower, though the picture was taken during noon.
But for precise color works, like product photography, the correct colors are everything. A correct photographed product avoids surprised customers. For this a grey card is necessary. This grey card has to show the same grey in every light condition.
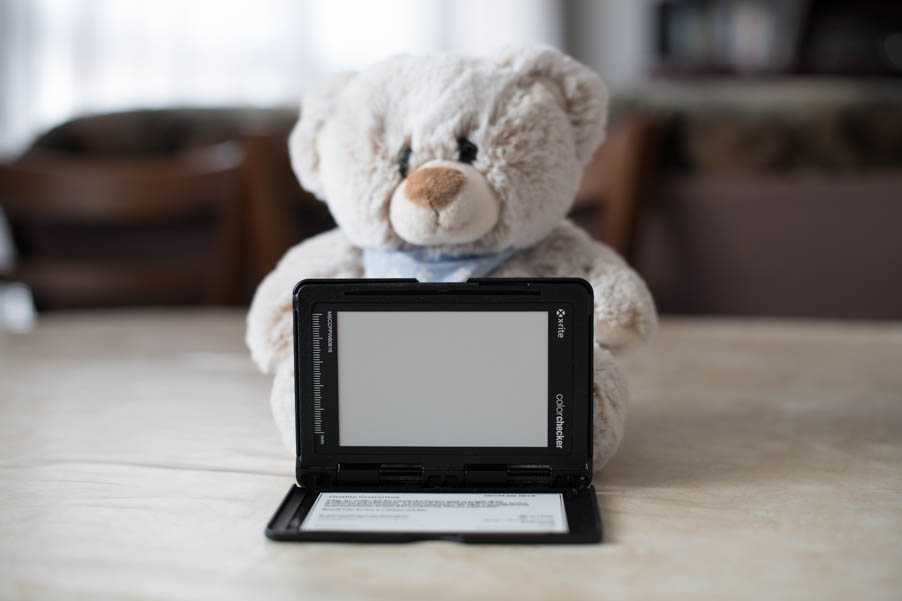 Grey card or a so called white target.
Settings in the camera
There are presets for the white balance. The most common are:
Direct sunlight: 5200 K(elvin)
Cloudy sky: 6000 K
Shade: 8000 K
Flash: 5400 K
Tungsten light: 3000 K
Fluorescent: 2700 – 7200 K
All these information are from the manual of the Nikon D850 and serve as an orientation and may vary with your camera.
These can be helpful, but in my case I never use them. Because I’m a fan of the manual white balance, if I need it at all. In the manual white balance I can set the degree of Kelvin directly. And then there is the automatic white balance which provides the most time a satisfying result. And what is more important if you shoot in RAW the white balance can be adjusted afterwards. So if you are not satisfied with your color impression of your photo or you remember the scene differently, then the subsequent adjustment is a blessing.
But also the automatic white balance may sometimes be wrong. Fortunately your camera has a display and you can use it to judge about the correct colors. The automatic can be wrong under extreme light conditions, like you shoot against a very low sun or a mounted filter is rendering colors with color cast, then I would recommend to set up the color temperature manually per Kelvin settings and you take the picture so often until you captured the colors as they are in reality (as far as possible).
 3000 Kelvin, wrong white balance.
 Auto corrected white balance in Lightroom with 6350 K.
All in all when you shoot in RAW you do everything right. You have always the possibility to change the white balance, like you to take the photo again. But what you need to know about that, if you change the white point afterwards the scale of the color temperature works vice versa. So if I want to warm up my image I have to chose a higher number of Kelvin instead a lower. This is because the reference point which is saved in the camera, for example for 3000 Kelvin, is a really cold white, so the actual white which will be displayed is much warmer to balance the cold white point.

Report
My comments