04.04.2018
The equipment
A tripod is essential for this kind of photography and what I also want to recommend is a tripod head with a very flexible inclination. If you have the milky directly over your head it is necessary that the tripod allows to angle the camera vertical that it shows to the sky.
The right lens is very important for the stars. A wide angle lens with an open aperture of 2.8 is great and everything below is even better. The focal length should be between 10 to 35 mm. A fisheye lens would also be an opportunity, but I have no experience up till now. I’m using my Nikkor 14-24 mm f/2.8 and it delivers great results.
And last but not least: a remote control, to get shots without any shakes or vibrations.
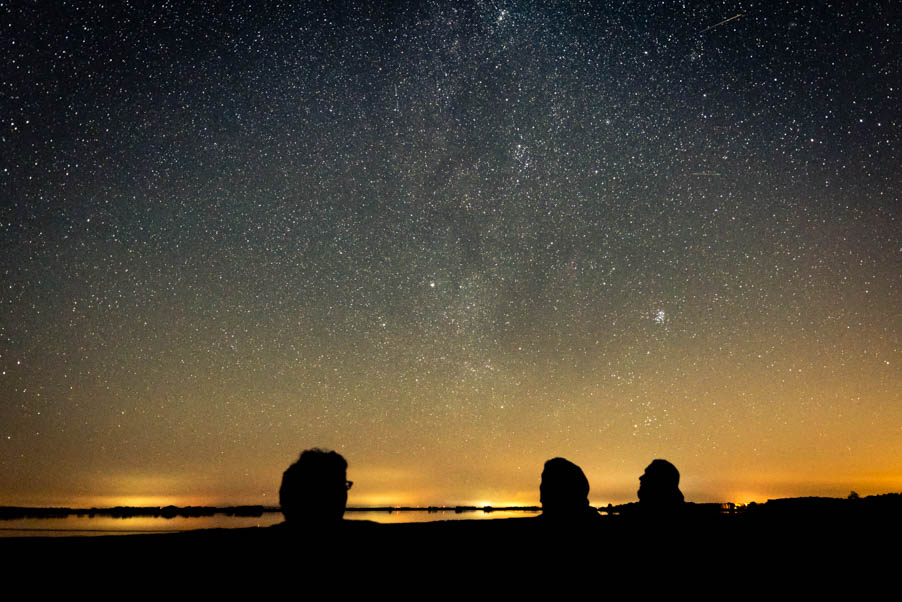 Stargazing in Westhavelland Nature Park.
Location is everything
If you live in a large city, like me, you have a problem with light pollution. This pollution makes it impossible to get a star filled night sky, so you have to travel some time to get away enough from the city lights and other troublemakers. I have to drive one and half hour by car from my home to the desired spot. In my case is this the Westhavelland in Brandenburg, Germany. This region offers a so called star park, where it is so dark that you can see already the milky way belt.
To find the nearest location, which fits best for you, you should use the website of lightpollutionmap.info
This map shows very accurate the right spots where it is dark enough to see the stars and more. And while you are using this site you can make a donation to support the person behind it, to keep this useful tool alive.
It is obvious that the higher places, i.e. in the mountains, the visibility of stars is much better. The atmospheric layers are thinner and you are closer to the sky. But in the mountains you have a very changing weather, sometimes very unpredictable, which brings us to the next topic.
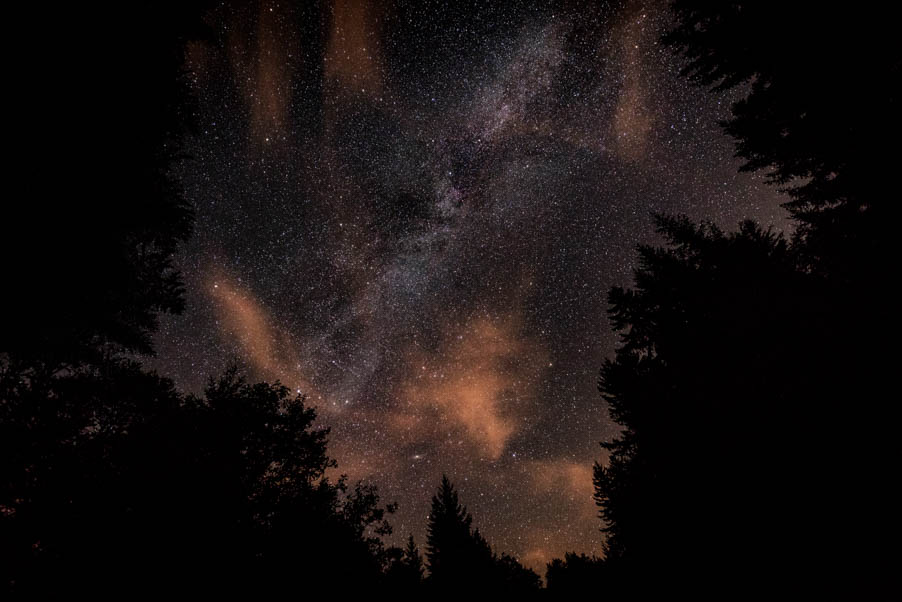 Milky Way above the Bavarian Forest, unfortunately with clouds.
Planning is everything
If you have found the right spot for you, you have to plan ahead. You can use programs like Stellarium (Stellarium.org) which is open source and available for Windows, Linux and Mac OS. With Stellarium you can simulate the night sky on any day (night), on the second. This is recommendable to get the interesting parts of the milky way, especially the center of it in front of your lens. And this program offers so much more information about astronomy, deep sky objects and it can simulate telescopes. But first and foremost I use Stellarium to check a date where I want to go out and take some shots.
And then there are of course several apps for smartphones available which can be also used to plan. Apps like Sun Surveyor and Photo Pills, which has an augmented reality feature where you can see the milky way belt directly on the screen of your phone at a certain time, which can be set.
The weather is maybe the most important variable of this undertaking. If you have a cloudy sky it should be logical not to get stars to face. So check different forecasts services for your location to get a trustworthy forecast. It is quiet annoying when you drive over one hour to a spot just to ascertain that there is a cloudy sky.
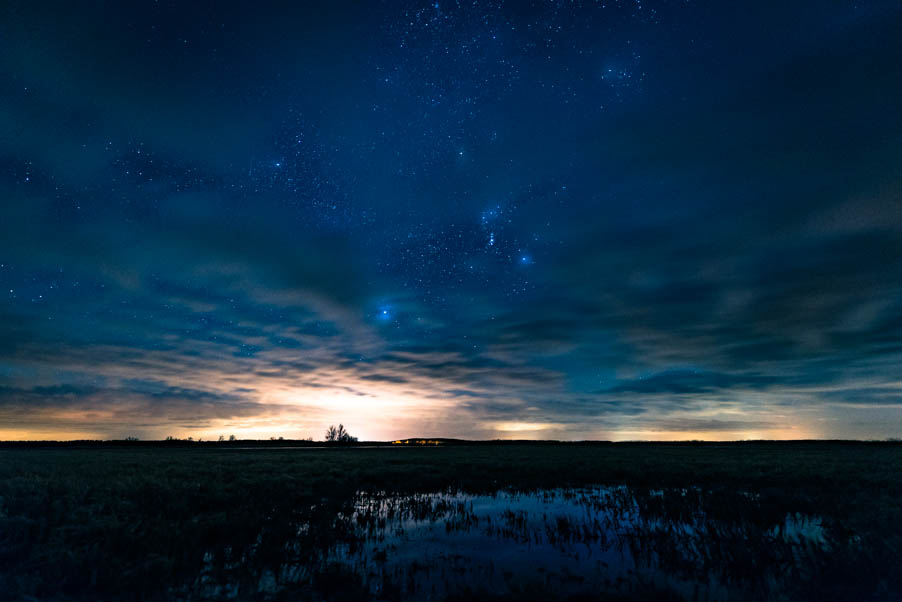 Even different weather reports can be mistaken.
It is also important to consider the moon phases. If the moon is shining the whole night through, no matter in which phase it is, it wont be possible to get some serious shots, because it is just to bright and cause of that the most of the stars won’t be visible. So in every month you have a new moon phase where the moon is not visible and take a look on the times when there is moonset and moonrise. As already mentioned, apps like Sun Surveyor offer all that information.
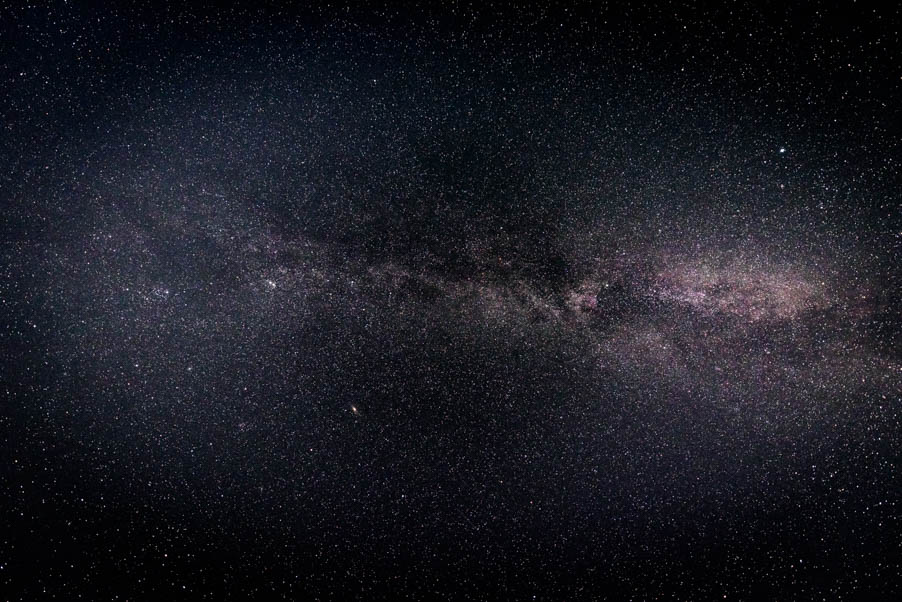 At this time at the year the milky way was directly over my head so it was not possible to get a foreground for this shot.
One tip is to get early at your desired place – at daylight. And explore the area and find the best foreground for your photo and wait then until nightfall.
The settings for the camera
When you have found an appropriate place and have good weather conditions you can start. It is necessary to set the camera in manual mode and to set the focus of the lens to infinite. The infinite marking of my lens looks like this, and by the way I did this manually, because there is nothing to focus in the darkness. The lower the noise level of the camera sensor, the higher the ISO value should be set.
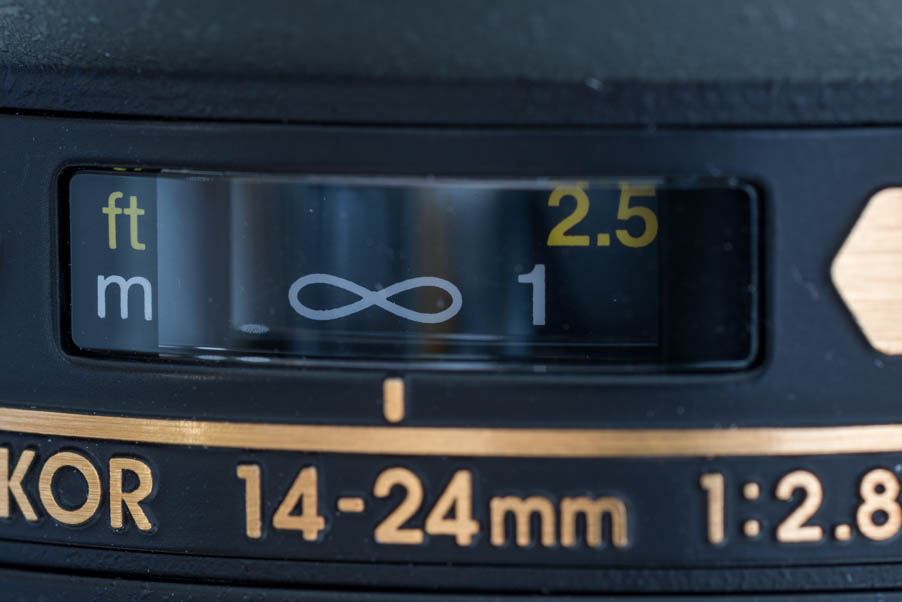 Lens at infinity.
All the photos you see in this article are made with a Nikon D750 and a D850 which have both an excellent noise performance. So make some test shots where your pain threshold for the noise is. With the D850 I can go up to 8000 ISO.
The exposure time should not be over 20 seconds, because then the stars start to forming strokes because of the movement of the earth. But this can be also used as a kind of composition technique. The open aperture should be used for the photos, don’t stop down because you will need every bit of light what is available. As mentioned I’m using a lens with f/2.8 and at this aperture the lens is already sharp enough. There are wide angle lenses from Sigma, for example with f/1.8 which would even better. For more dramatic photos you need an appropriate foreground. In my case I had sometimes the luck to have these high seats on the fields. Then it is important if you want to take a picture of the milky way belt you should know where it is at a certain time. This should also be considered in your planning. The augmented reality feature of Photo Pills is ideal for this.
The edit
As always I assume to take the photos in RAW format to be able to process them afterwards with all their potential. And there is a lot of potential which can you see in the following example. So you should bring the highlights a bit down, strengthens the contrast and the most important is to use the clarity control in Lightroom. That means to increase the mid tones, to get a more present milky way.
One recommendable technique is to blend the picture several times in Photoshop with different blending options, this method makes the stars more visible respectively let them more shine.
I imported the Image from Lightroom, and copied the layer several times. In this case I decided me to multiply three layers and to use the soft light blending option three times and played with the opacity control for each layer to find the right blending. Play around with it until you find the right result for you.
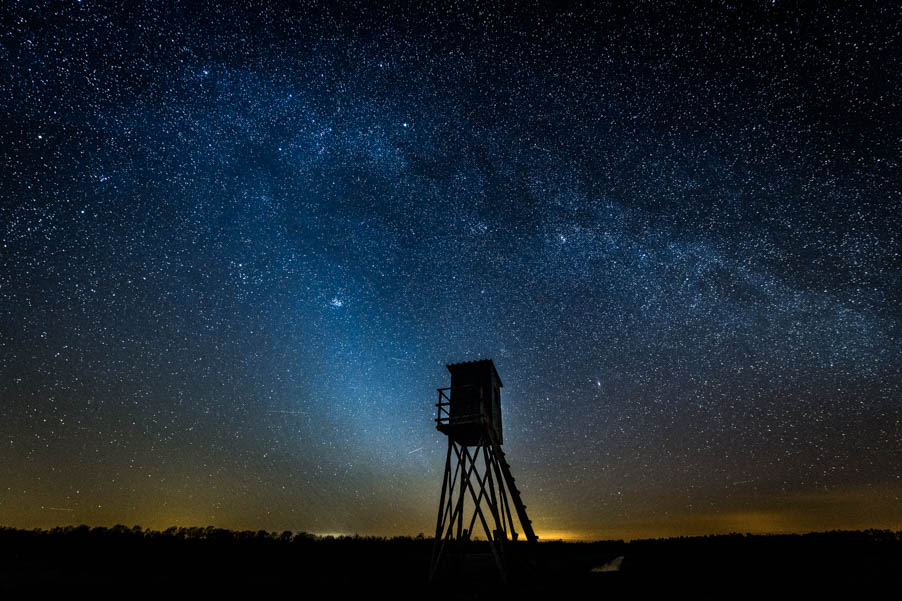 This picture has a total of seven layers.
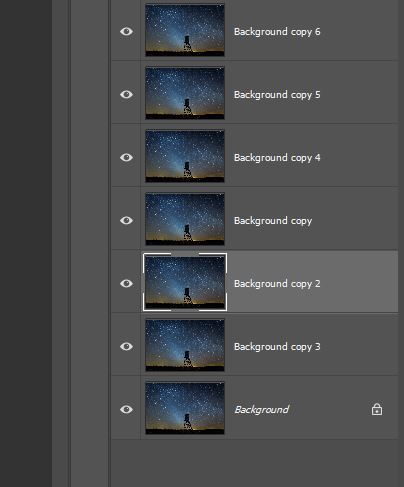 Seven layers to increase the presence of the stars.
Final words
The right location and planning is everything for star photography. What you shold know is that there is a season to see the interesting parts of the night sky from March to September on the northern hemisphere. After that the southern hemisphere will get the enjoyment of the milky way.
Star photography is for me one of the most interesting parts in photography because it shows us how small we are and that makes you very much think about life and how relative it is. And it is always a time travel when you look to the sky: the stars are thousands and millions of light years away, some of them don’t even no longer exist. I really enjoy these nights under the stars and I hope you too. So go out there and take some pictures.
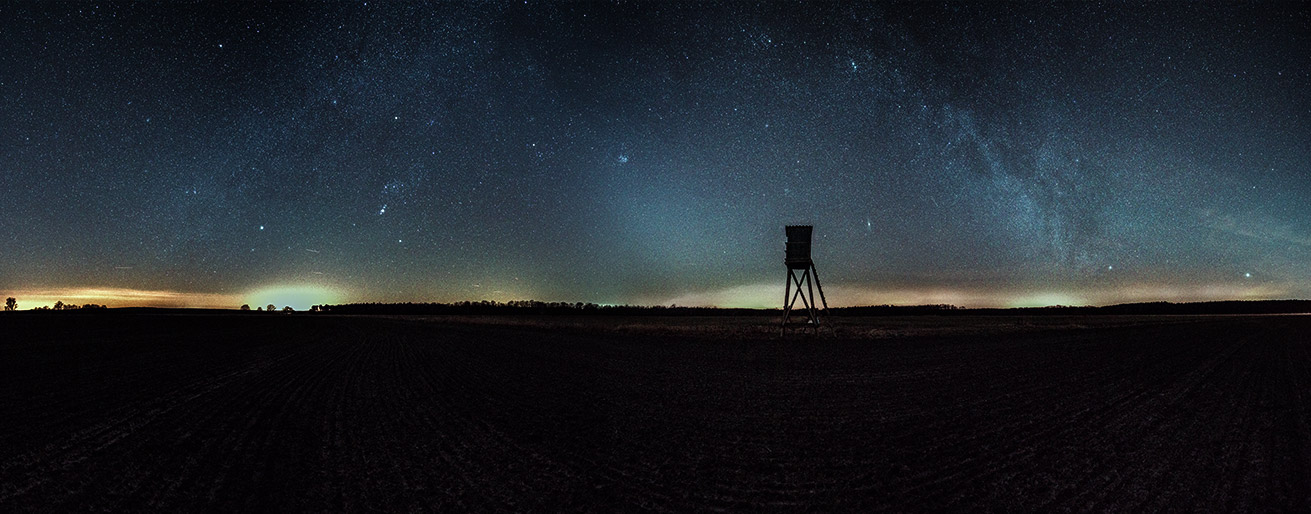 Panorama of the milky way in Westhavelland Nature Park.


Report
My comments