30.09.2017

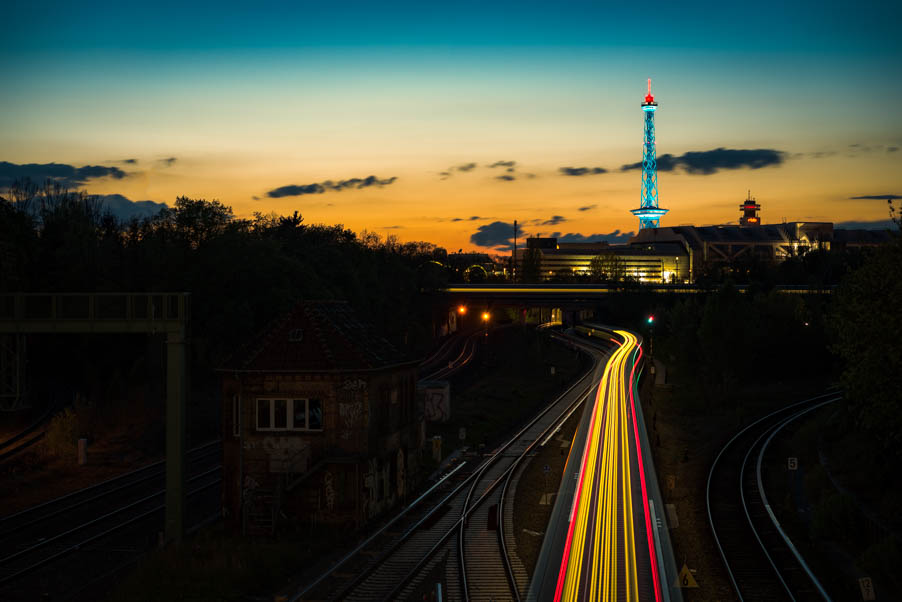
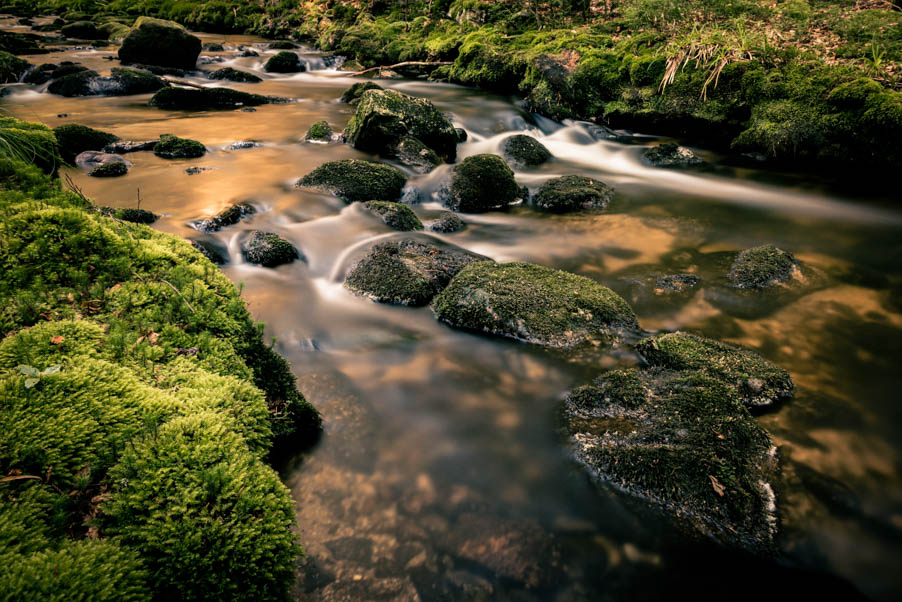
One of the most interesting subjects in photography are long exposed photos. I always carry a couple of filters and a tripod in respectively at my bag. A long exposure allows you to create light trails of cars for example, a smooth water surface so it looks like silk and clouds can be blurred too with this technique. It is also possible to reduce the amount of unwanted people in a picture.
What do I need for a long exposure?
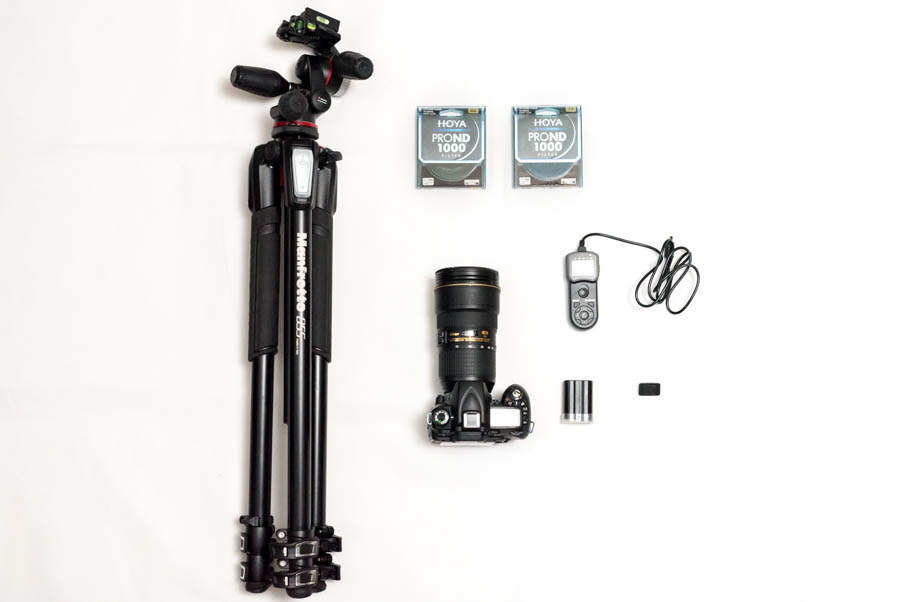
Camera (sure!)
Tripod
That’s it. So what about filters and a remote controller? Filters are only really important when you want to long expose during daylight or especially for a silky water effect or the mentioned purpose to avoid visible people in your image.
A remote controller for the camera is recommended if you are naturally nervous or your camera has only a bulb function. So for now we want to take light trails. For this task you just need a reliable and stable tripod. The camera settings should read like this: aperture: f/8, exposure time: 10 - 30 seconds, ISO as low as possible unless it is too dark, then increase it in small steps. With these settings you will get some visible light trails of cars, trains, airplanes and anything else what uses light in the dark.
What also is advisable for a long exposure is to use the mirror lock-up of you camera. With this option the vibration will be reduced or eliminated caused by the flipping up mirror in the camera. The mirror will flip up first as usual but the exposure starts a second later. Especially for light trail shots it is necessary to use it this option if not, you will see it in the blurred light trails and you should use for a long focal length, because longer the lens the higher the risk that the photo will capture vibrations.
Neutral-density filter
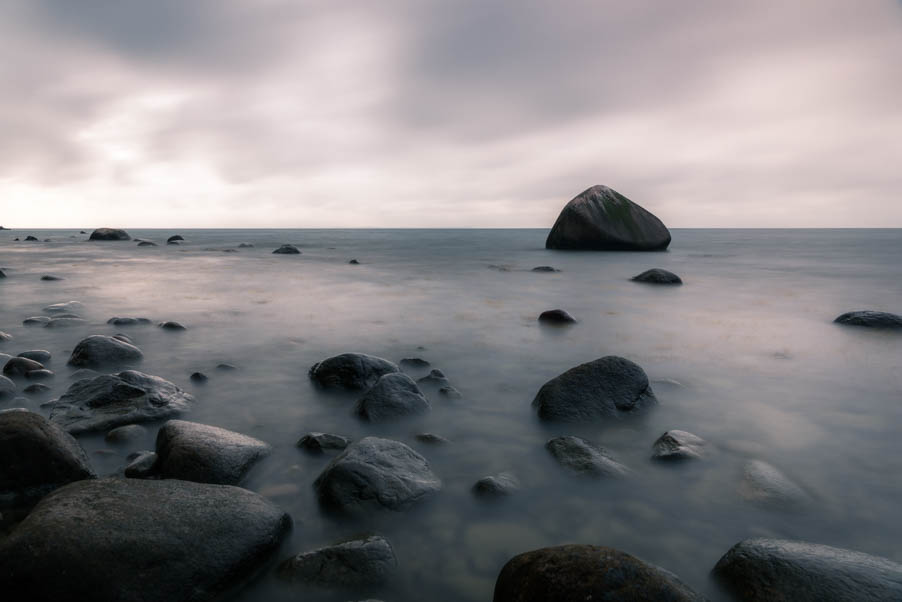
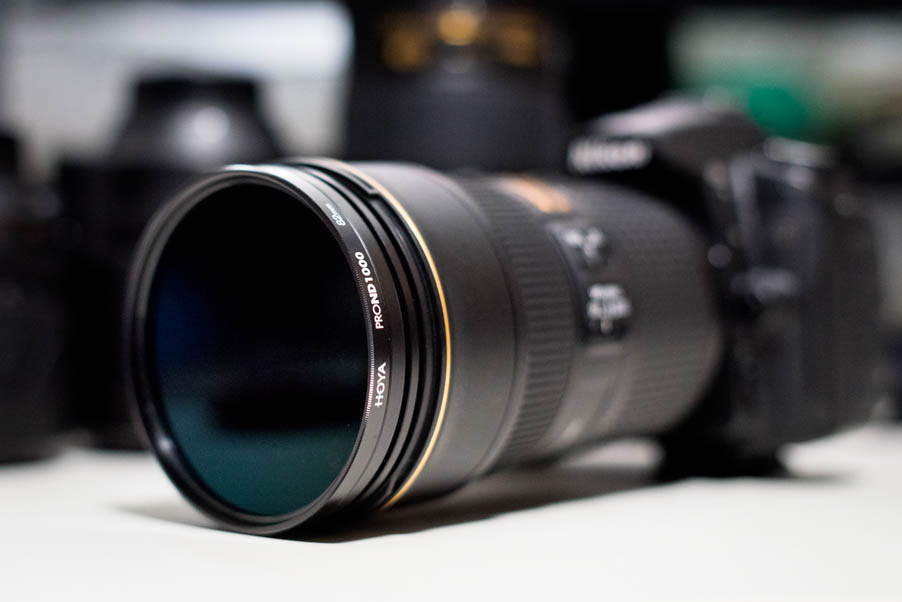
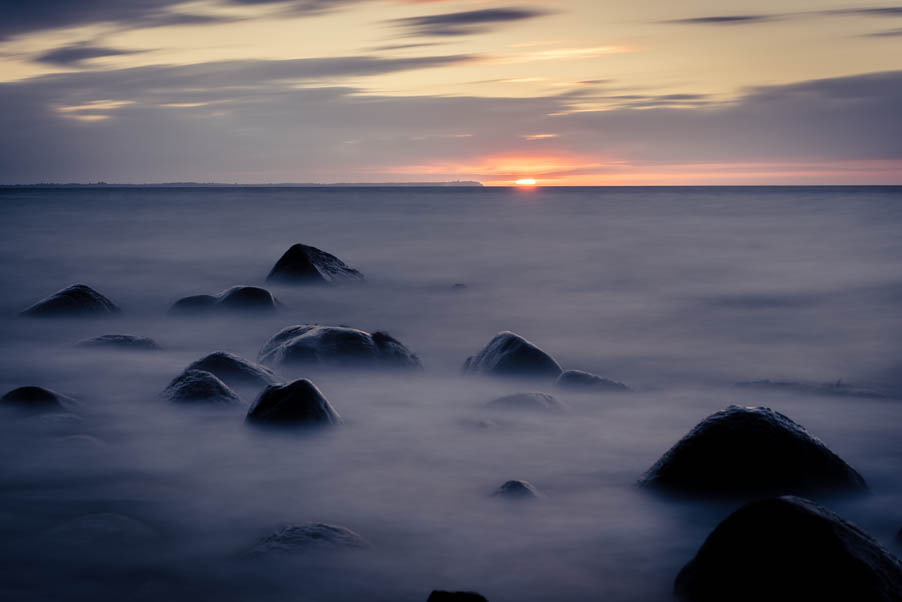
Now we talk about filters. For a long exposure there are neutral-density filters available. These ND filters also known as "grey filters" just darken the incoming light for the camera so you don't have to use fancy apertures like f/22 or similar. Remember, most lenses have their sharpest imaging performance between f/8 and f/11, everything beyond creates a diffraction blur (Wikipedia article). ND Filters are different notated like ND 1.8, ND 106 or ND 64. Three different descriptions for the same characteristic of a filter. With the named filter you reduce your aperture by 6 stops. So if you set up your camera with the aperture f/8, for example, you would add 6 stops to the photo, so the final aperture would be f/16. With this "very small" aperture you need a long exposure time to get a useful result and that is the purpose behind a long exposure, because with a very high exposure time every movement in the image will become blurred. This is our example picture:
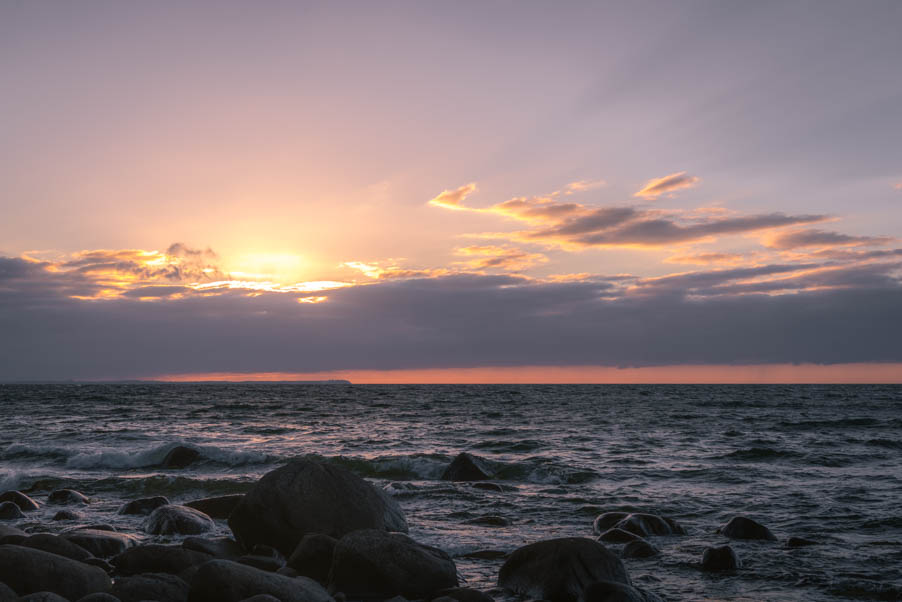
The camera is set to f/8 and 30 seconds exposure time with ISO of 50. You see a visible blur in the clouds and the water surface is very consistent and the water at the rocks is almost like fog. The other picture on the right shows the same sunset minutes before the long exposure. It was taken with the same aperture and ISO settings, but with 1/60 seconds. This is the perfect example how the look of the water changes during such a long exposure.
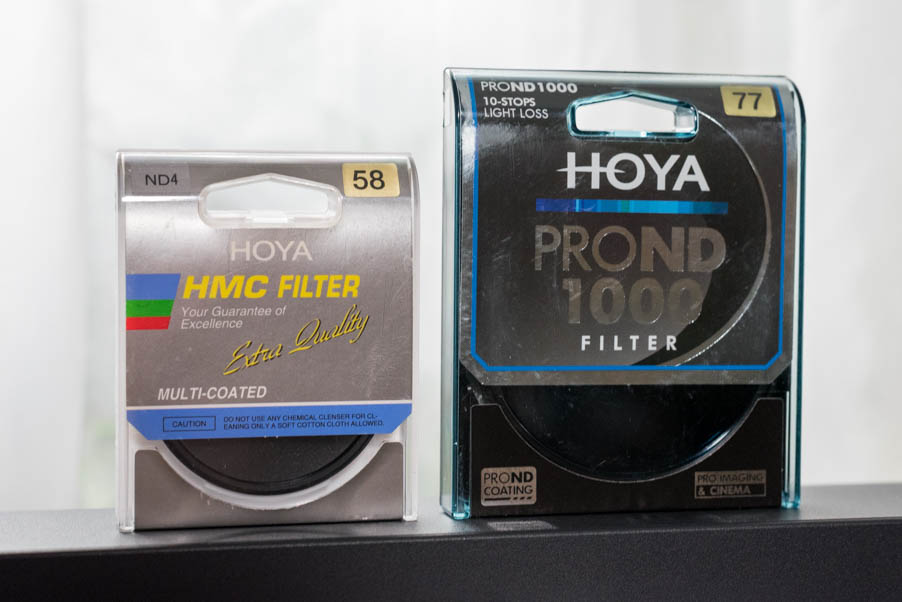
The manufacturers use different notations for their filters, so the most common are the NDnumbers: ND64, ND128 or ND1000. For more information about the Notations of ND filters you should use this chart from this Wikipedia article.
Procedure for a long exposure
- Use a solid and reliable ground for the tripod.
- Adjust the desired height for your tripod, place it and mount the camera, plug in the remote controller, then set up the angles for your composition.
- When you turned on your camera go to manual mode set up the aperture, exposure and the ISO.
- Activate the mirror-lock up. In the more professional cameras you can choose between different lead times. This depends on which focal length you use and how long your lens is, the longer the longer the lead time should be.
- The last before you release the shutter should be to focus your motif, after that turn the camera in manual focus mode (if you don’t use back button auto focus).
- Mount the filter, remember that from now on you must not touch the focus ring of your camera.
- Release the shutter.
- Check the result. Too bright or too dark? Continue with step 9 and 10, otherwise if you are satisfied you are finished.
- Make new adjustments for the exposure time.
- Release the shutter.
It is recommendable to cover the viewfinder. There are extra parts from the companies to cover it. The reason is that it is possible that light could fall through the viewfinder during the exposure, this could cause a wrong color temperature so the image can get a tint. You can also cover the viewfinder with a hat, sock or other dark clothes.
How to find the correct exposure time?
Most cameras offering 30 seconds as the longest exposure time. After that comes bulb or a function that allows you to press the shutter button to start the exposure and when you press it again the exposure stops. This is very comfortable. At the Nikon cameras it is called “time” in the display. When your camera is not offering this function you have to use bulb, the sensor will be exposed as long as you hold down the shutter release button. For this job a remote controller is essential, because with this controller you can lock the release button.
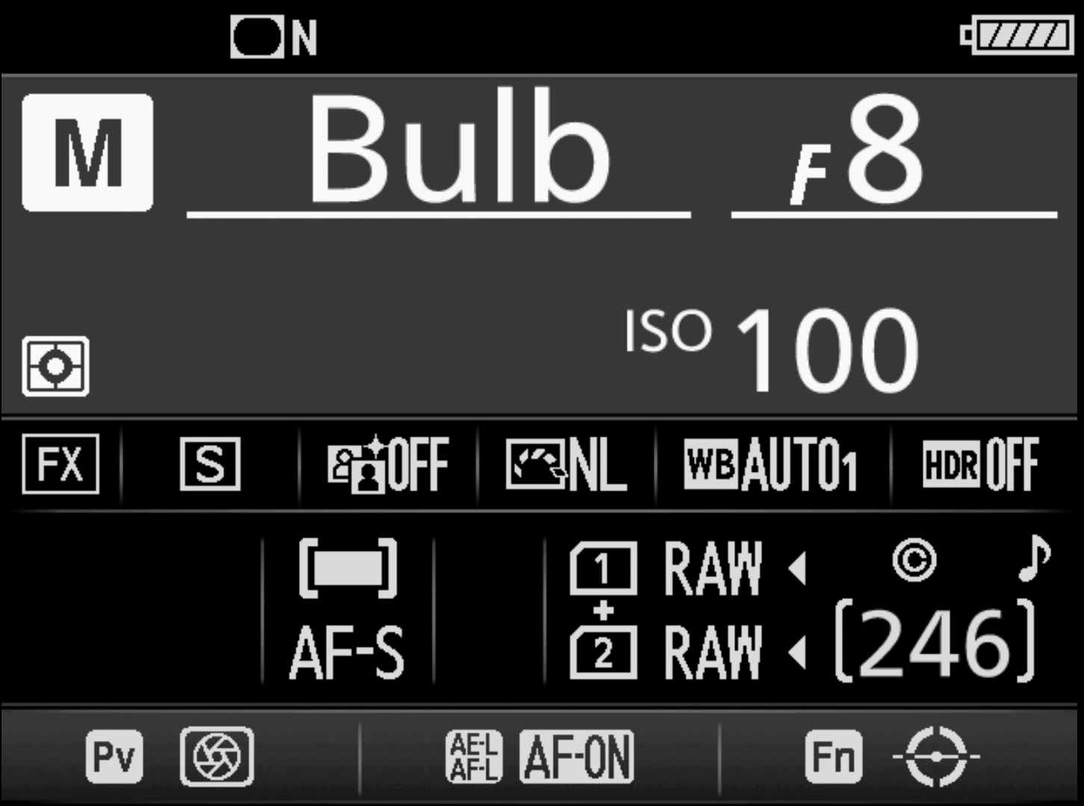
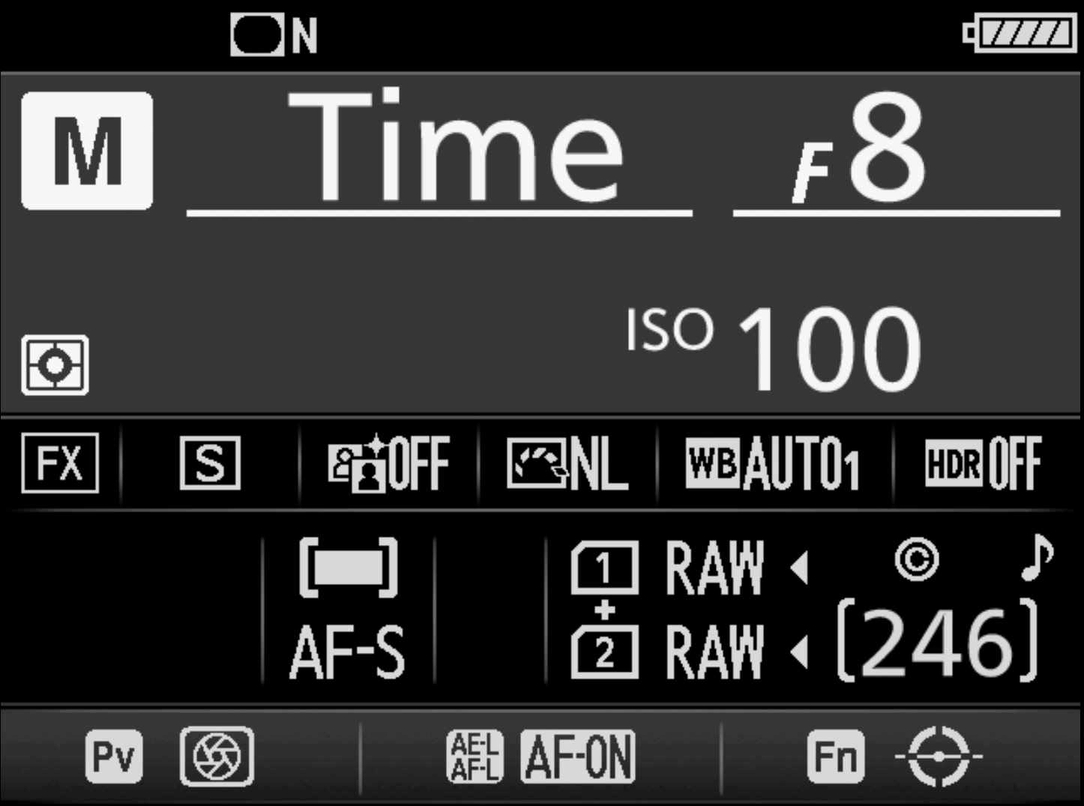
The metering of a camera nowadays is very reliable to work with. If you shoot without a filter, you should use the shutter automatic and if the light meter says the next shot will be underexposed then you should use the bulb function.
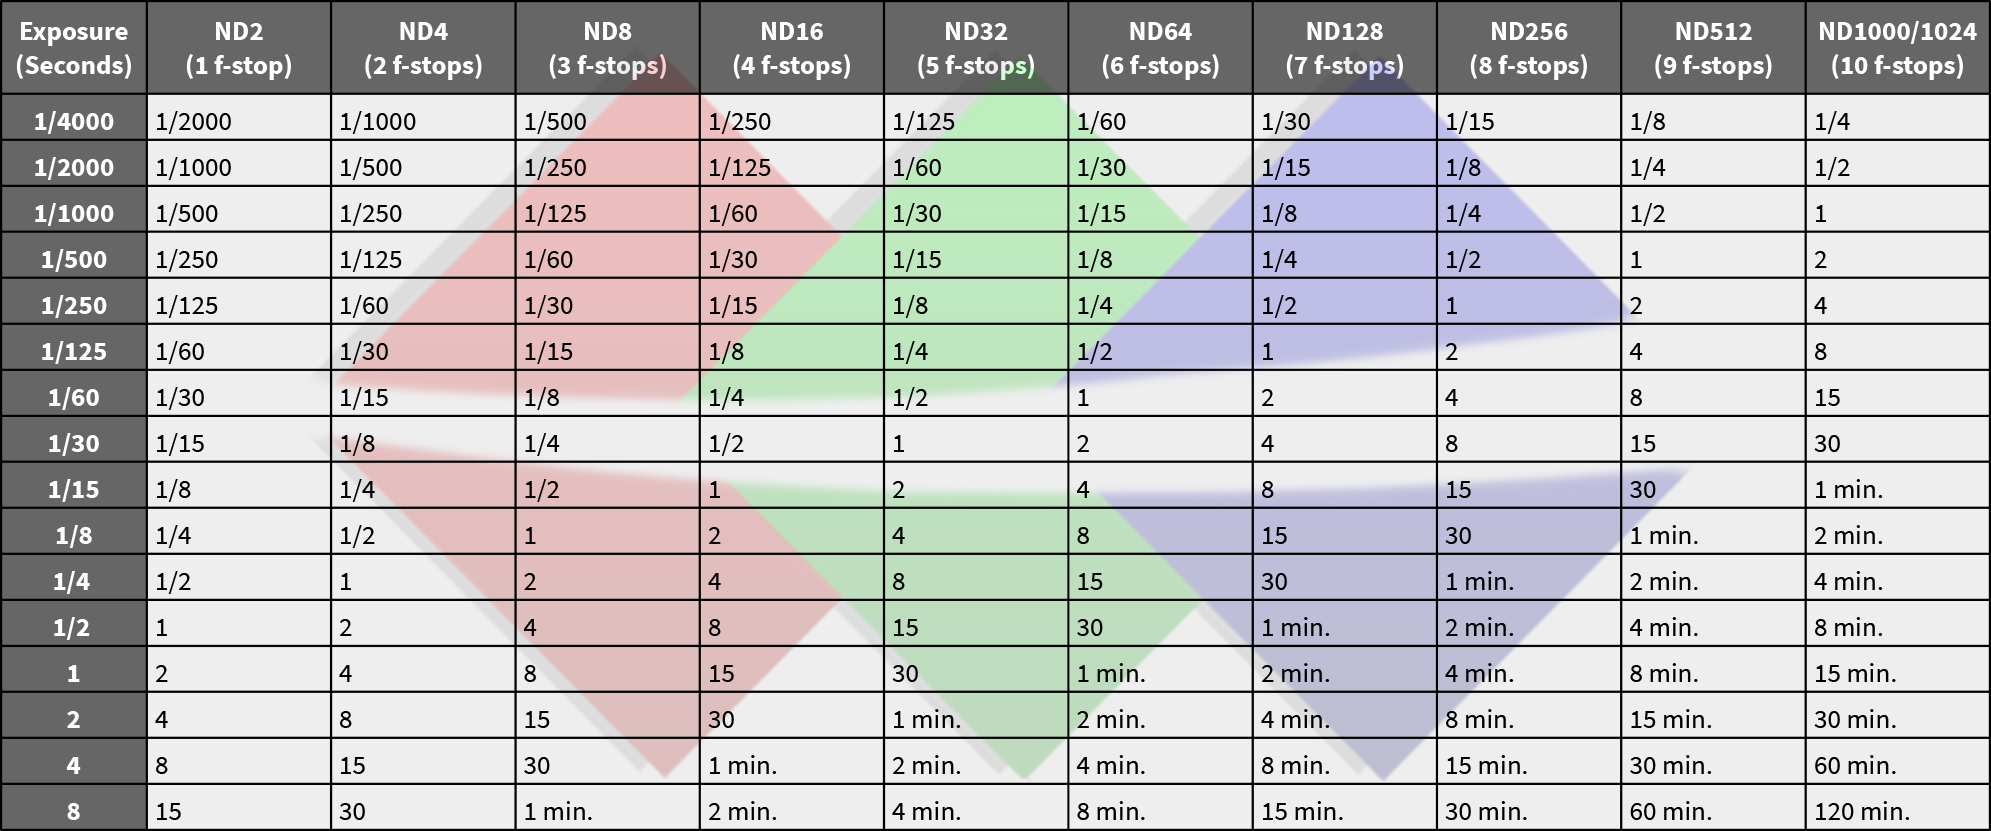
For a correct calculation you have to multiply your exposure time with the filter number.
Example:
The metering of the camera shows 1/60 seconds, you add a filter with 6 stops (ND64).
Formula:
1 ÷ 60 ⋅ 64 = 1,06 sec.
That all is fine but you need to be fit in math and know how to handle fractions. So I created this chart with many standard exposure times.
Final thoughts
Try it! You will get a feeling how to handle the exposure times and the chart should be forgotten in a while.
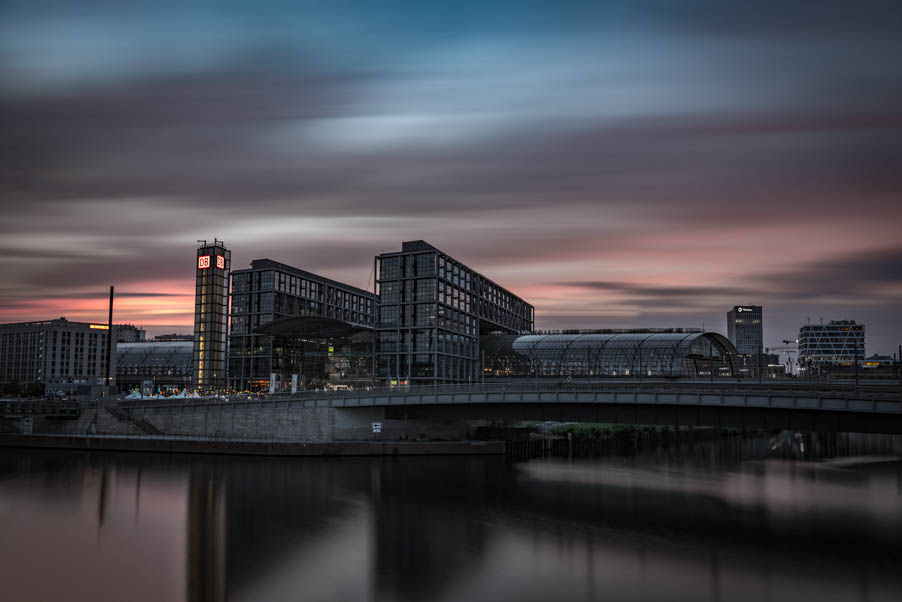
For me, long exposures are one of my favorite topics in photography because these technique creates moments which are only visible with a camera and let you enter a truly artistic field. And you can combine other techniques with it. For more impressions visit my gallery. I think you will recognize the long exposed photos.

Report
My comments