13.11.2017

High Dynamic Range. A very hip term nowadays. Displays which are capable to show HDR content are coming along. But what makes this technique possible for me in photography?
Every photo you take is a low dynamic range image. Unless you use several shots of the same motif with different exposure times and theses exposures are assembled with software like Photoshop, Lightroom or the free software Luminance HDR. A low dynamic range (LDR) image offers 10-12 aperture stops, on the other hand a high dynamic range image over 15 stops. That allows you to capture more information in an image, in this case more exposure information. Under- and overexposed areas of an image can be much better reconstructed than in a LDR. You have also more play for editing. The best application examples are extreme light conditions like sunsets (sunrises) or a low sun in the cold seasons and the HDR technique is only suitable for still images.
When you take a photo of a landscape against the sun, the landscape will be correct exposed with an overexposed sky. The other possibility will be a correct exposed sky with an underexposed landscape. No matter how much you tune your exposure settings the results will be the same. This is the optimal task for the HDR technique.
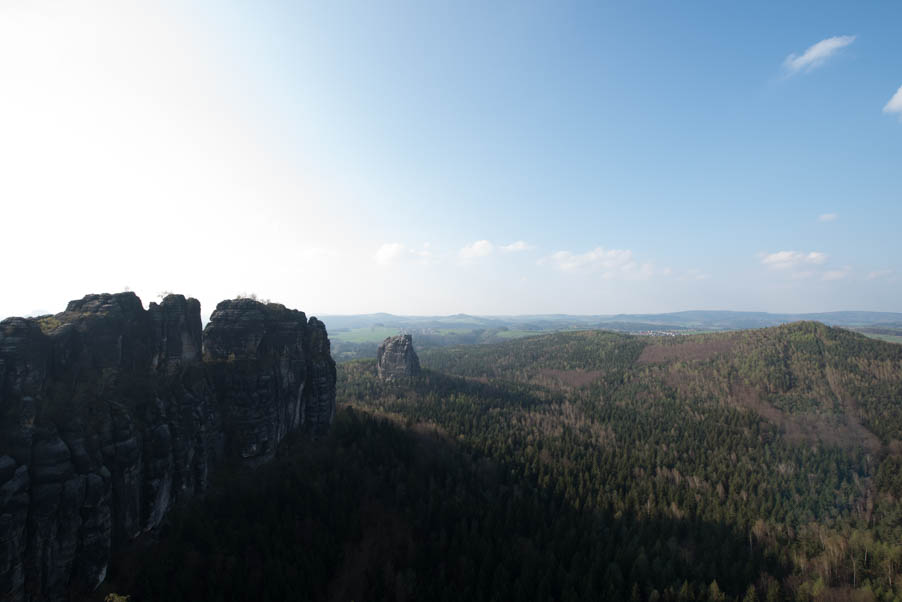
What do I need to take a high dynamic range image?
Just a tripod and of course your camera. Maybe a remote controller but this is a matter of taste. In some guides you will read you can take a HDR free-hand. Please do yourself a favor and use a tripod! No matter how short the exposure time is! You will see tiniest aberrations in your image when you assemble – for example – three shots and one of them is not correct aligned. There are visible glowing lines along hard contours like rocks or edges of buildings. You will also lose sharpness if the images are not correct overlaid. There are too many factors which influence your exposures if you take it free hand. The holding of the camera, your breath, and the exposure time itself. And if you think the pictures look good on the camera display doesn't mean it looks good on a big screen respectively they fit exactly.
With a tripod you avoid these problems. You only need a stable ground.
What I assume is that you take all your photos in RAW format. Also a HDR image, shot in RAW, is much more editable than a JPEG image. There are also built-in HDR functions where the final image is merged in the camera but as far as I know all of them do that in JPEG, in a compressed form. To use the full potential of your camera please take your pictures in the RAW format.
How do I create a HDR image?
A HDR image is a merged exposure bracket. Nikon cameras offer a dedicated bracketing button and in Canon cameras this function is called “Automatic Exposure Bracketing (AEB)” which is activated in the menu. The same for Sony cameras.
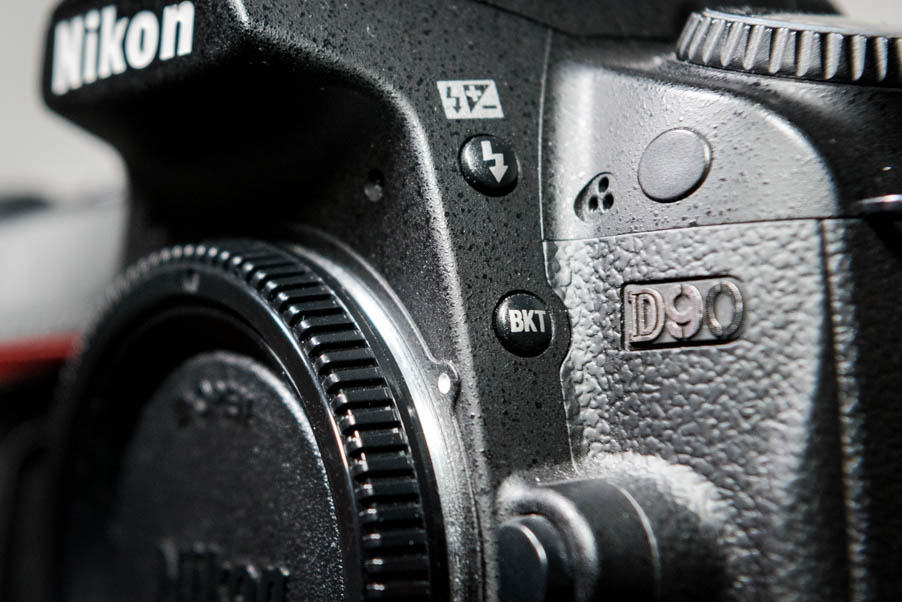
The bracket button of a Nikon camera.
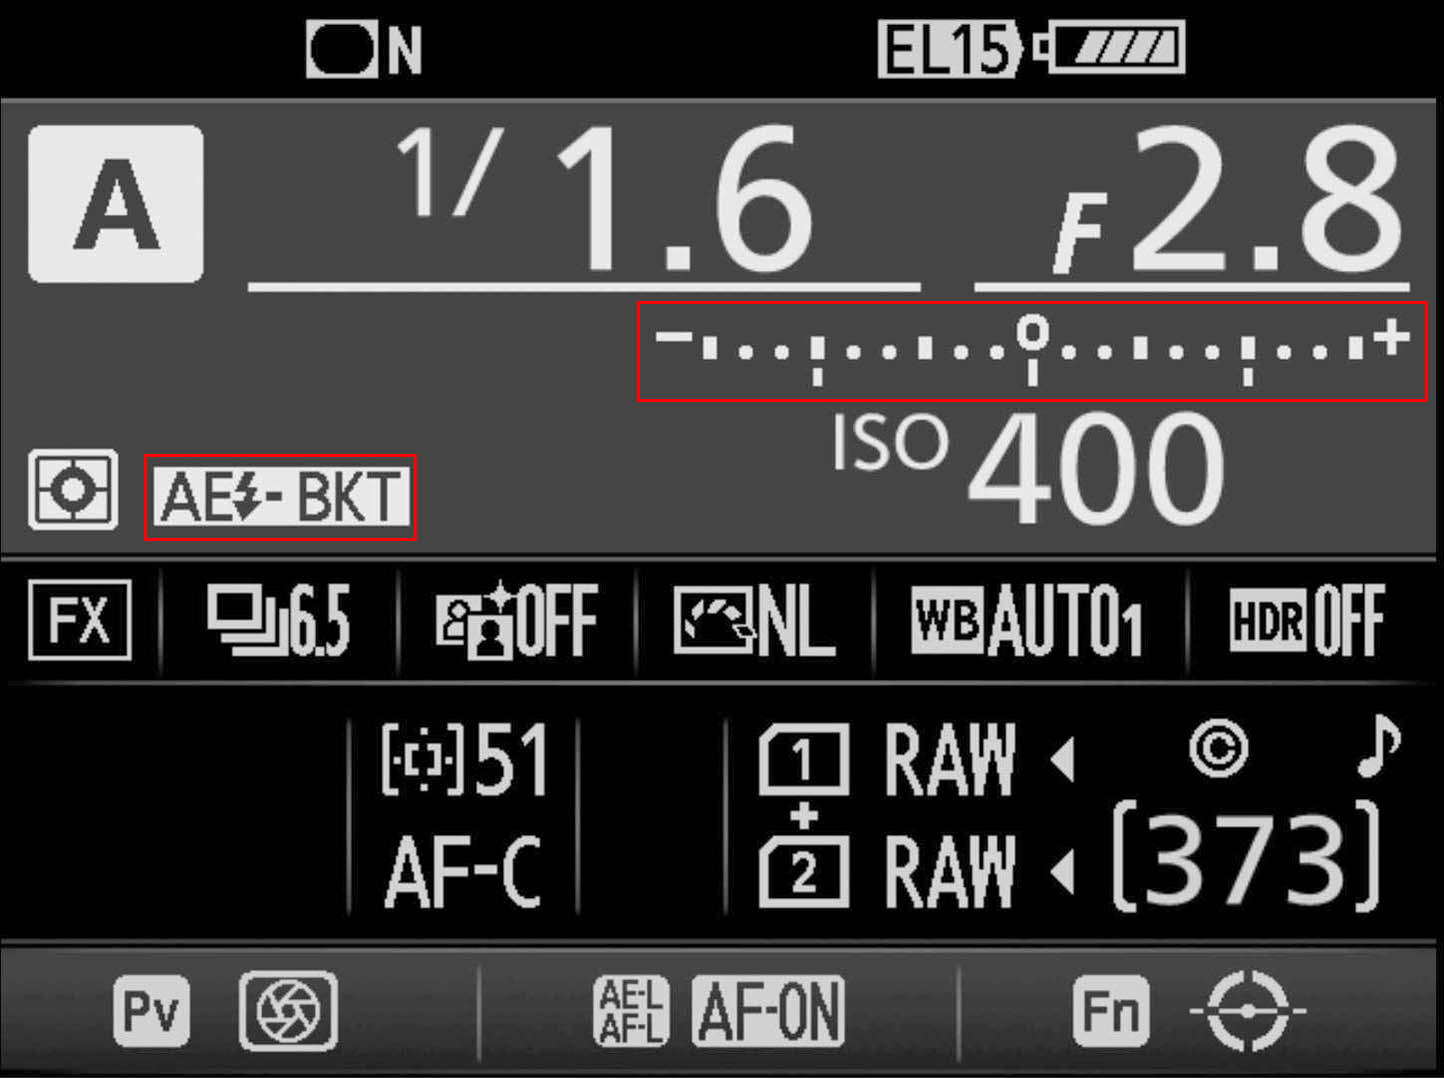
The activated bracketing function in the info screen. The red marking shows also the increment range.
When you found your desired motif, place your camera with the tripod and activate the bracketing function. You can setup different amount of exposures with different exposure times. In my experience you should make more exposures the more extreme the light is and the more different the exposures should be. The ISO should be as low as possible, because you using a tripod and I set my camera in shutter automatic mode. Please set the focus before you take the first image and don’t refocus between the several exposures, to avoid different depth of field.
For a better understanding: The bracketing function automatize what you could do manually. It takes one frame with the correct exposure for example with 1/60 second and the next shot is the darker with two more aperture stops: 1/15 second and the third shot would be the brightest with two aperture stops less: 1/250 second. So you get one correct exposed and two “false” exposed images.
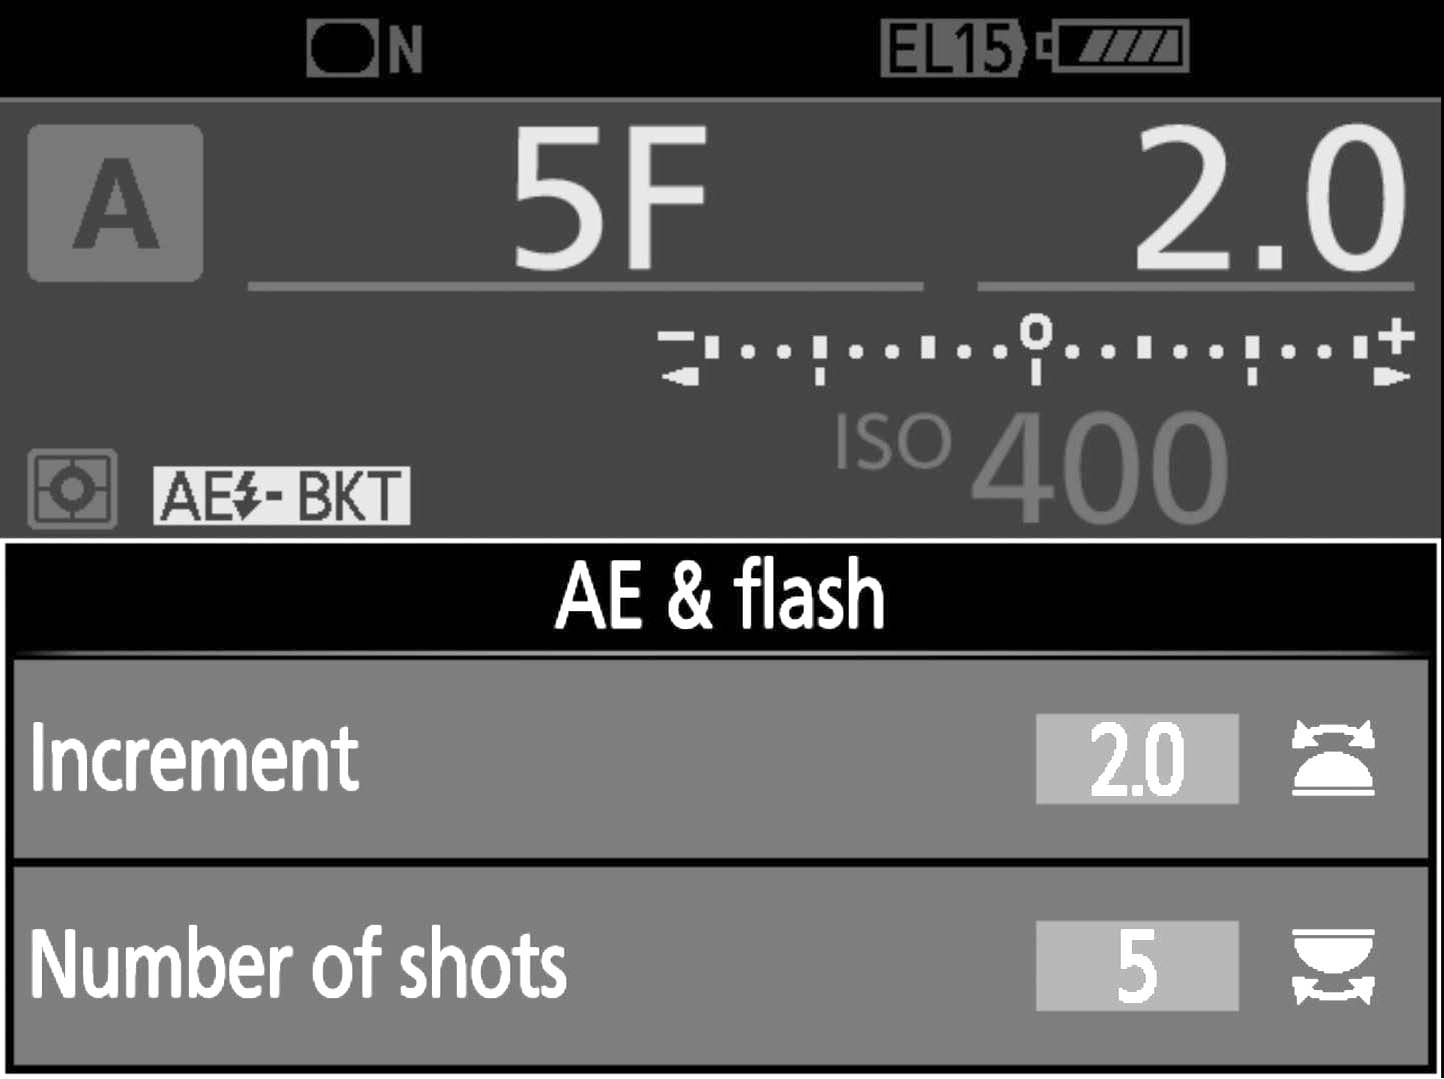
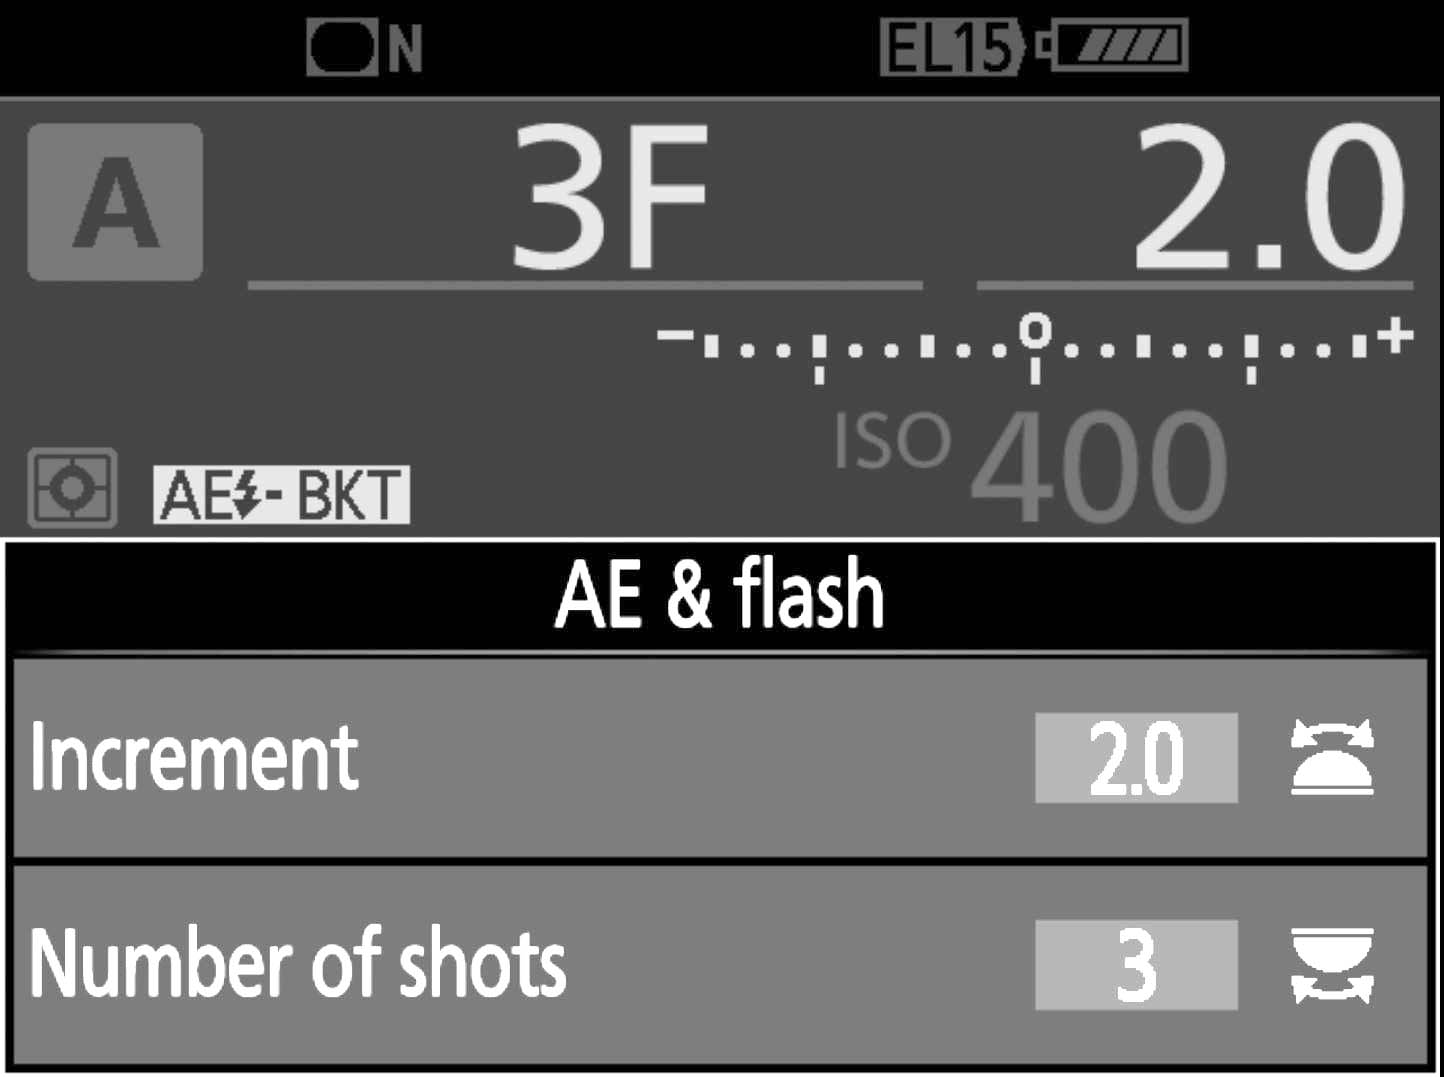
When you press now the shutter button the first exposure will be made. Do it again until you took all exposures you have set up.
And that’s it.
A HDR image made of three exposures.
The editing
A high dynamic range image requires an appropriate editing. In this case I recommend Adobe Lightroom for a comfortable merging and editing of your exposures. You import your photos in Lightroom, select all three with CTRL or CMD, click the right mouse button, go to “Photo Merge” and click on “HDR...”
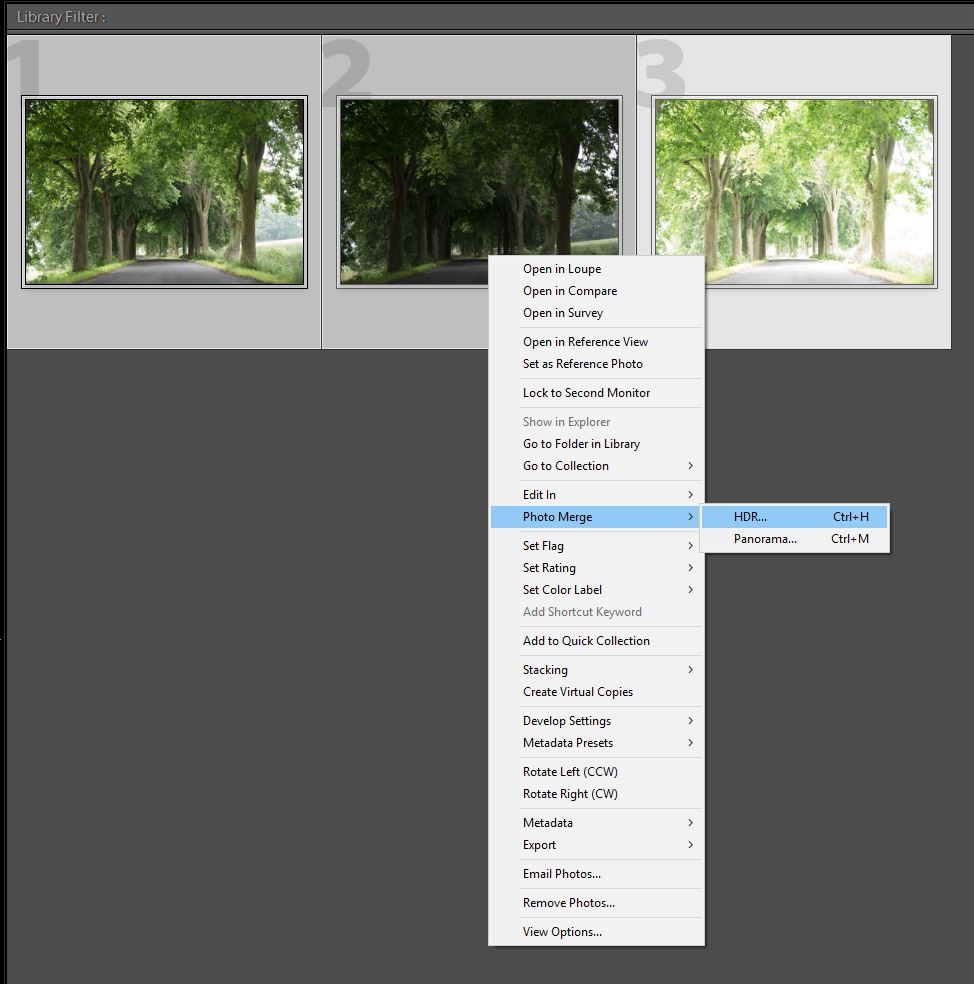
A window will open where a preview is rendered. On the left you have the settings for “Auto Align” what trims the picture for correct horizontal and vertical lines and “Auto Tone” for automatic tone adjustments like contrast, exposure, and so on. Both I don’t use because I’m doing these tasks later in my workflow. Whereas I’m using the deghosting option, which works in the most time reliable. For more complex tasks I’m using Photoshop, but for the first time the deghosting of Lightroom is doing a good job.
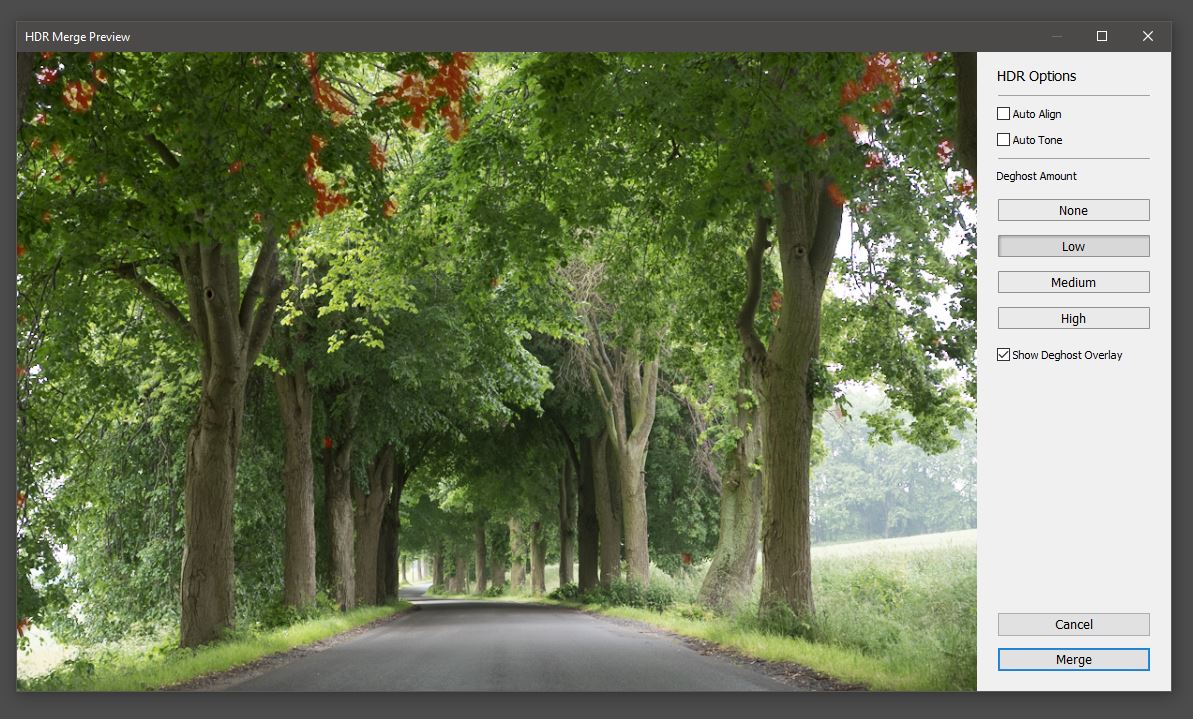
In my example picture the leaves of the trees lead to a ghosting effect, that means some of them have moved during taking the pictures. You see that in the red marked area in the window. For these kind of inordinate structures like the leaves the deghosting is optimal. If you wouldn’t apply any deghosting, the objects which have moved would become transparent or would look like a glas cover, just like ghosts.
When you have decided for the correct amount of deghosting you can hit the “Merge” button. After this the HDR will be rendered and it will be visible in the library view when it is finished. Our example picture looks now like this. Quiet unspectacular. But you will notice the difference during editing, especially in images where you have shot against the sun and other bright light sources.
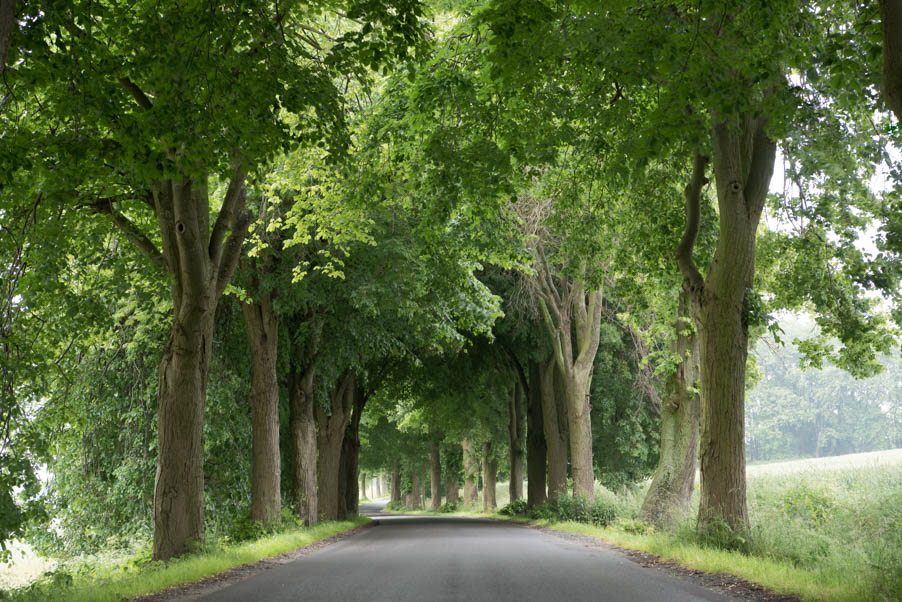
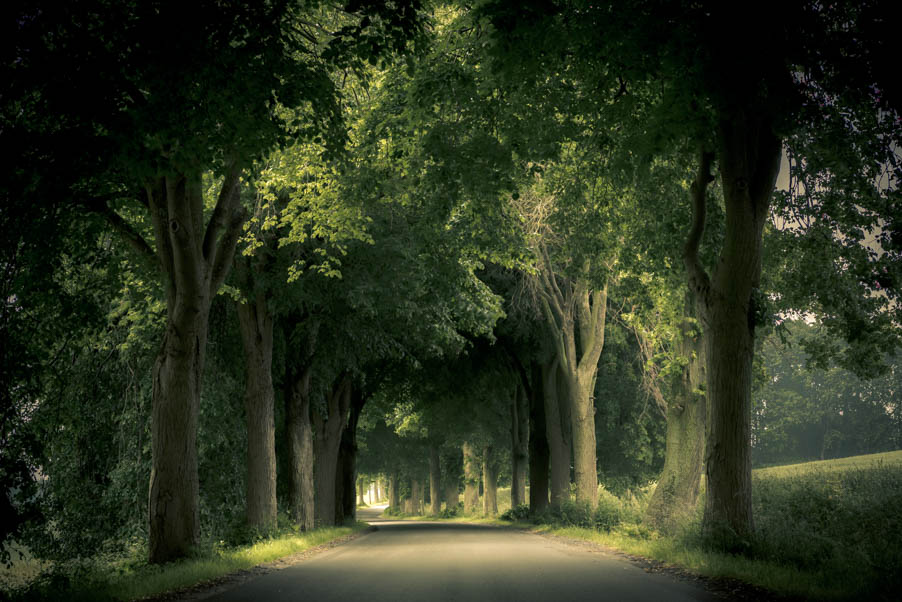
And this is the final image after editing: strong vignette, split toning, dramatic highlights and shadows:
Concluding remarks
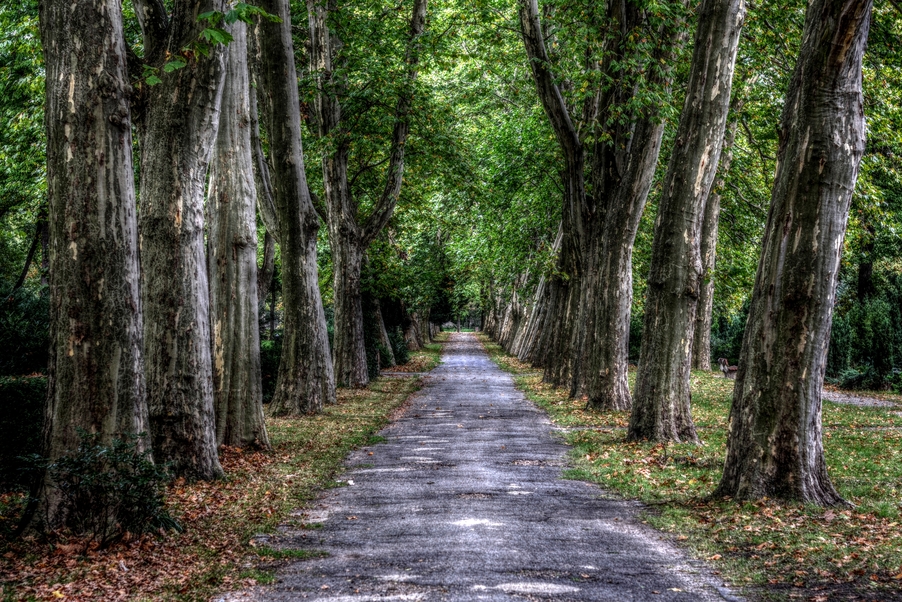
For me the HDR technique is more an additive than a creative tool. You can make it to the essence of your image, so that the image is only working with an overdone HDR appliance, but this not my taste. It is easy to reach these overdone level, because the high dynamic range offers you so much play with the highlights, shadows and colors. If you really like this surreal look in the following picture then it is up to you to concentrate what you like.
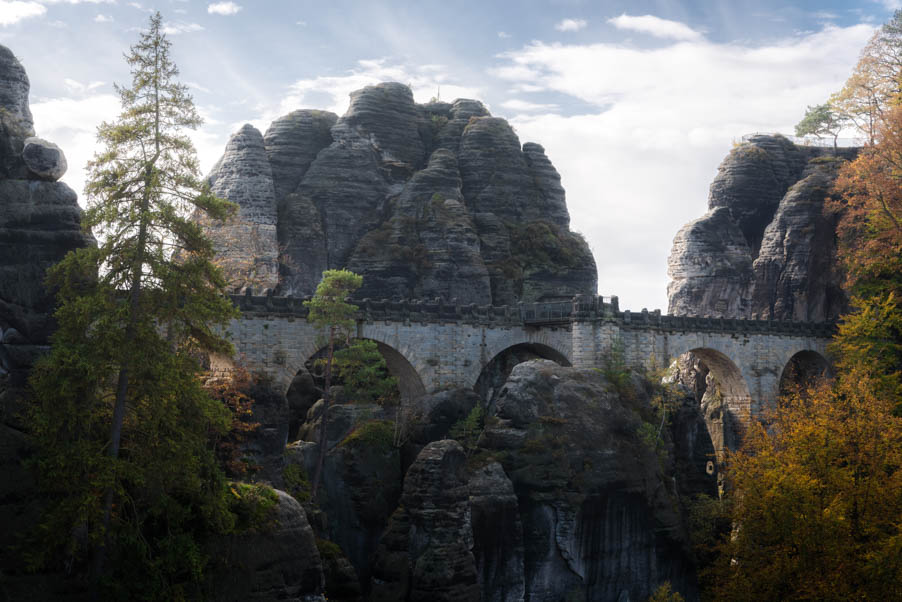
It is an ideal helper for strong light differences, where one exposure is not enough.

Report
My comments