05.12.2017

Do you ever wanted a nice silky water in your HDR? Or to get all the information in the shadows and highlights in your long exposure? Photoshop makes it easy to use both techniques in one image. The basics are my two guides: HDR Imaging and the Long Exposure Guide.
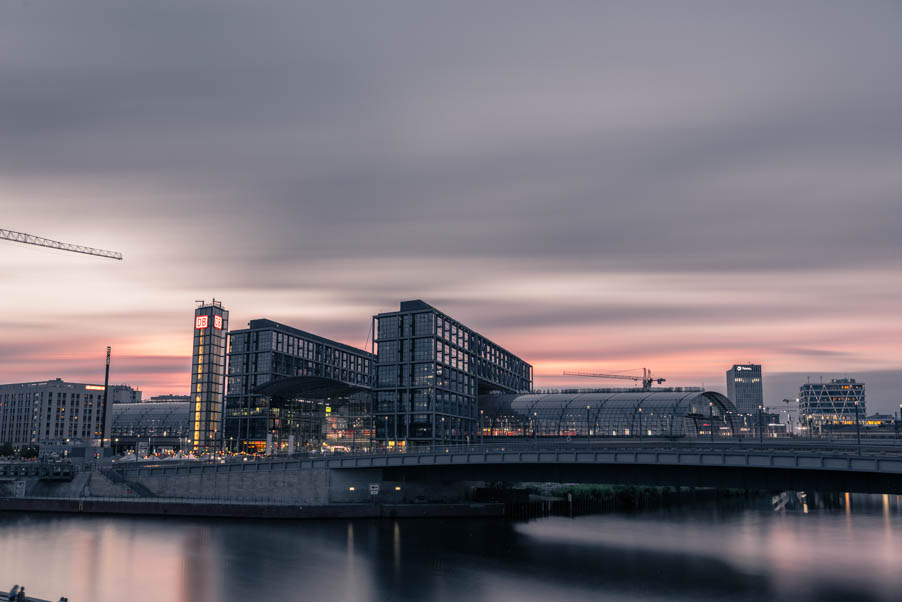
In this example I decided me for the photo of the main station in Berlin during a dramatic sunset. In the foreground the Spree is flowing and you have the challenging light conditions of the sunset. I wanted a silk effect for the water and catch all light information how they were. So I made three exposures for the HDR, then I mounted my ND Filter with 10 stops on the lens and took a long exposure and all that of course with a tripod. So be sure your tripod won’t slip during the whole process.
I created the HDR in Lightroom, then copied the develop settings from the HDR and pasted them to the photo of the long exposure to get similar adjustments respectively the same lights, shadows and colors for the two photos I want to combine.
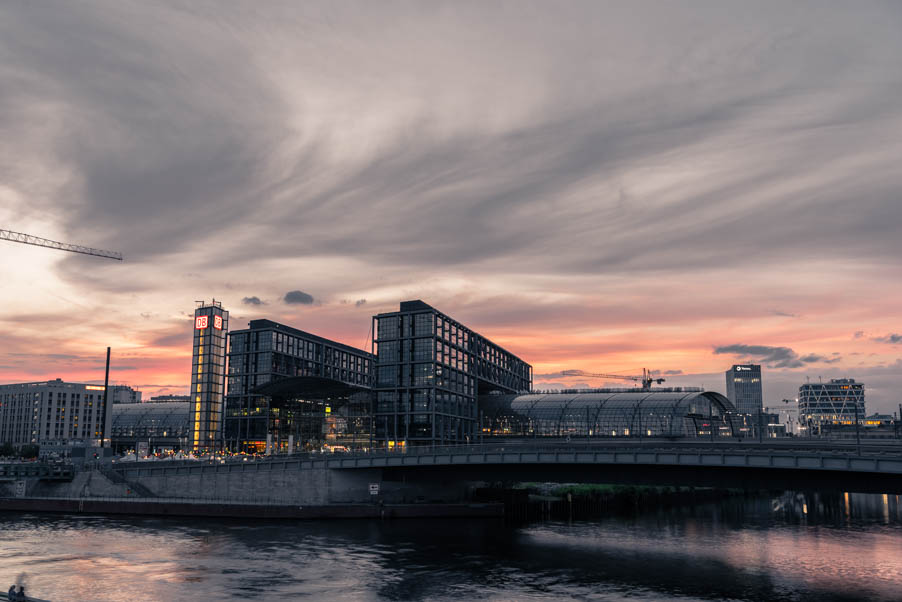
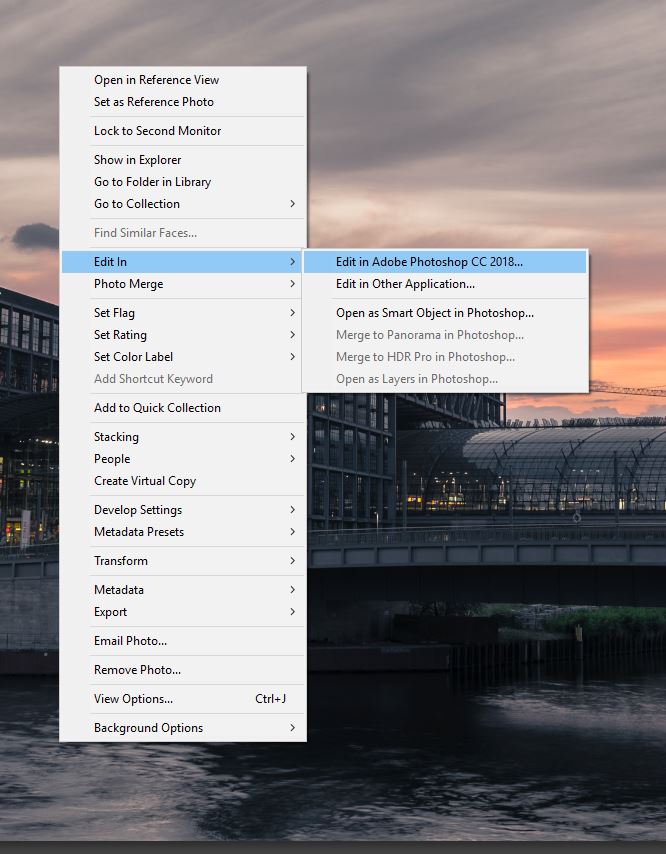
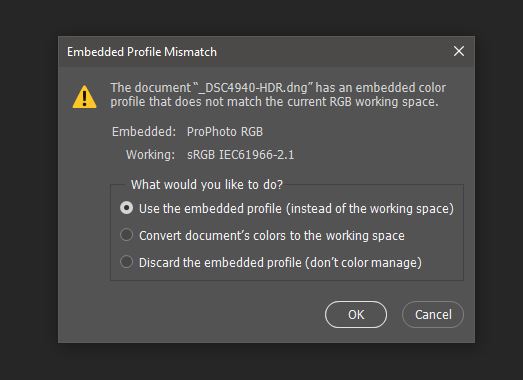
The first step is to open the HDR image in Photoshop. I do that directly via Lightroom with a right click on the image and go “Edit in” and then “Edit in Adobe Photoshop CC 2018”. The photo will open in Photoshop. Please use the embedded color profile when Photoshop is asking which it should use. The ProPhoto RGB color space holds more information then the sRGB gamut, probably you will see no difference, but for future decisions you should always use the possibility which holds more information.
After that you go back to Lightroom and open your long exposure on the same way. Or just open your image in Photoshop. And then start’s the work. Now you drag and drop one picture on another. You go to the layer panel and you click on the photo and hold the mouse button and pull it over to the other document (photo). Before you do that you should know in which picture is the more interesting part, in my case I only want to replace the water, so I place the long exposure, which makes the smaller part of the image, on the HDR.
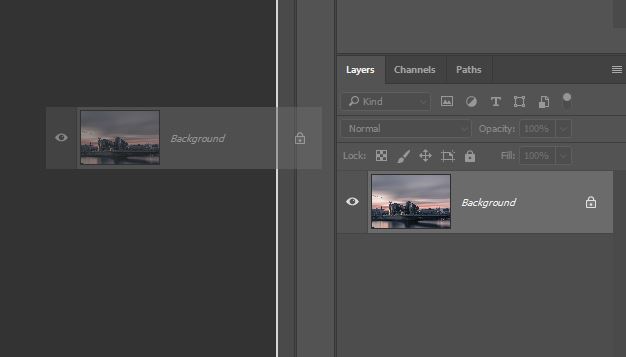
Drag the layer to the other document.
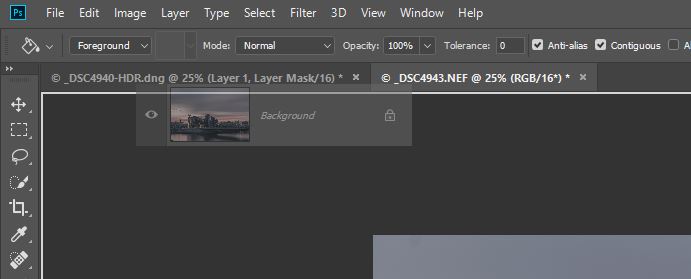
Align the pictures with the move tool (V on Windows and Mac) and the help of the smart guides. If this function is not activated, you will find it under “View”, “Show” and “Smart Guides”. The Function “Snap” should be also activated, this is directly in “View”.
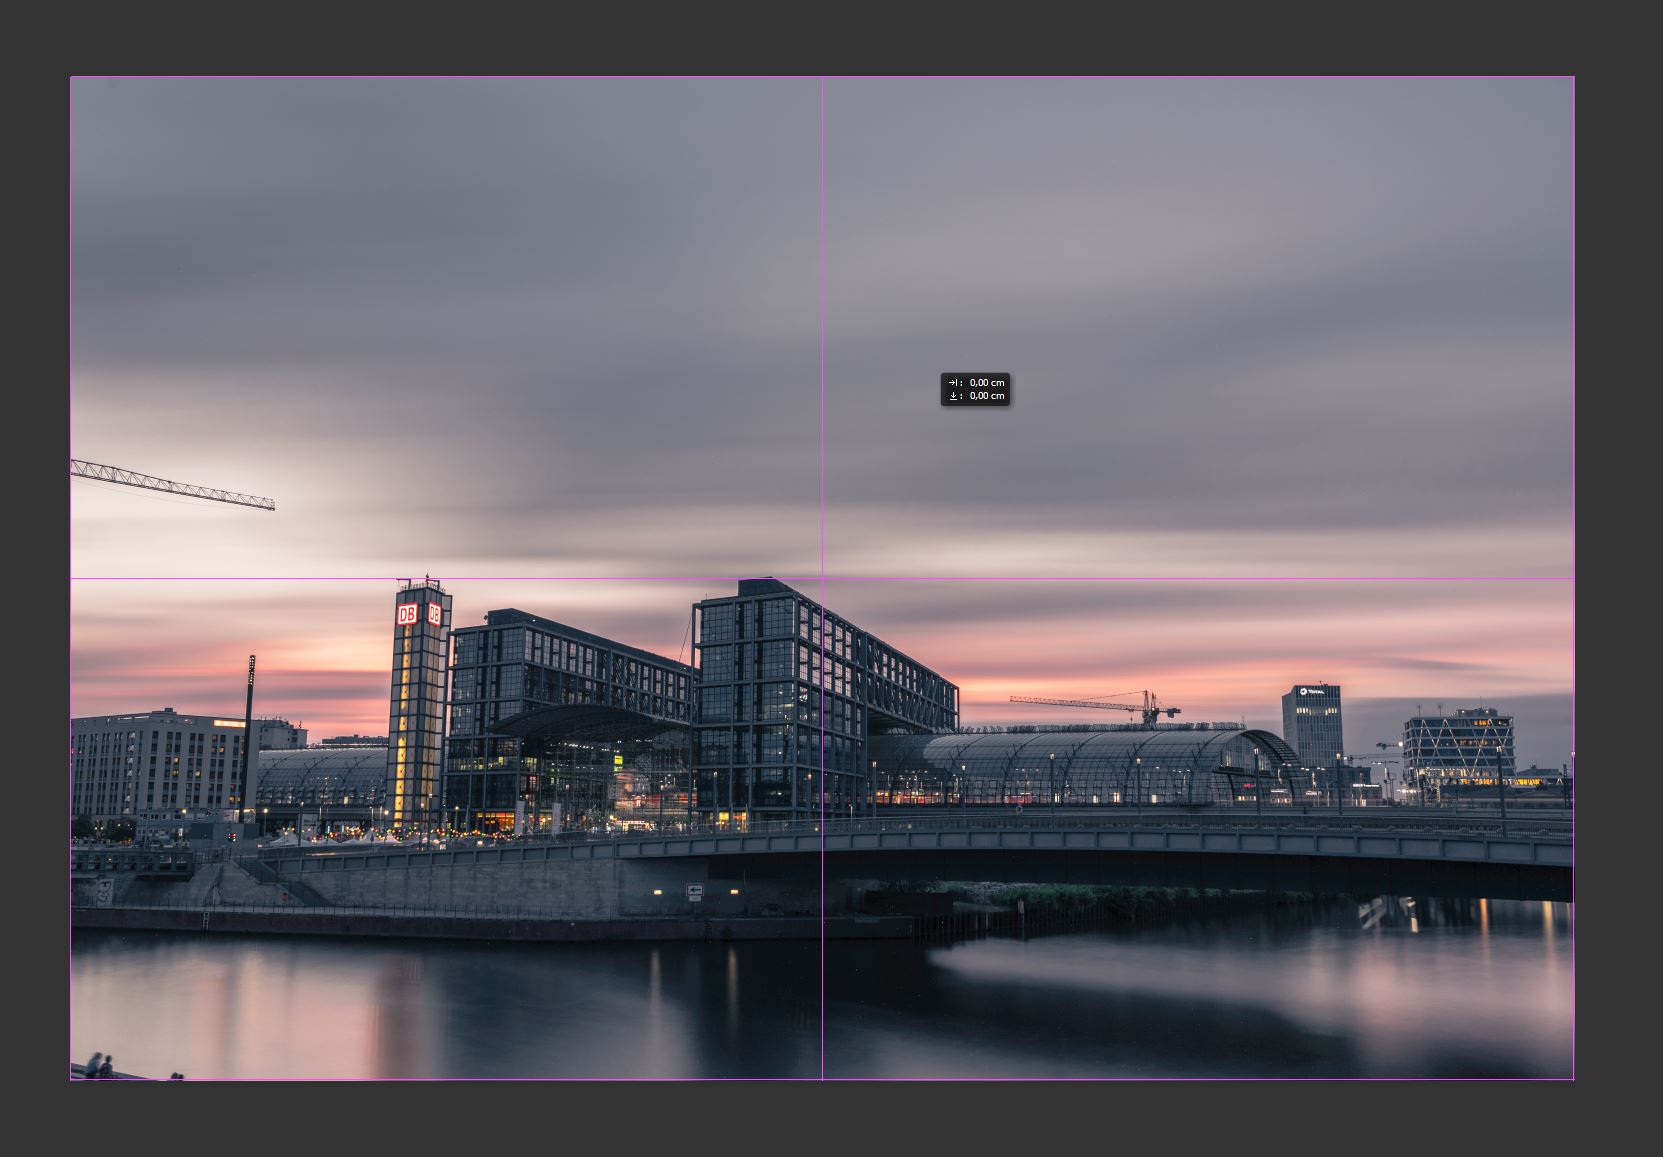
Comfortable alignment with the smart guides.
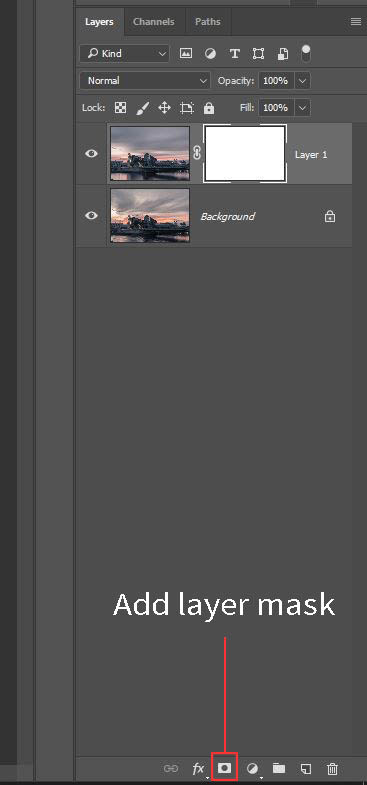
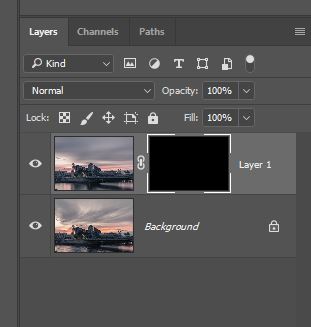
After you aligned the pictures you add a layer mask on the upper layer. You mark the layer and then click on the icon. This layer mask have to be black, so we press G for the paint bucket tool and choose black as color and clicking on the image. The first layer will disappear now and in my case the HDR is now visible again. Get sure that you have selected the black layer mask in the layers panel and then you can start to paint in your desired part of the image.
I select the brush tool (B) and select white as color and start to paint in the water of the long exposure. If you have problems with the edges respectively with transition to the main image you should try different brush strengths and vary with the flow settings. Since in my example there are clearly defined edges, it is easy to paint the water in. And after a while the final looks like this:
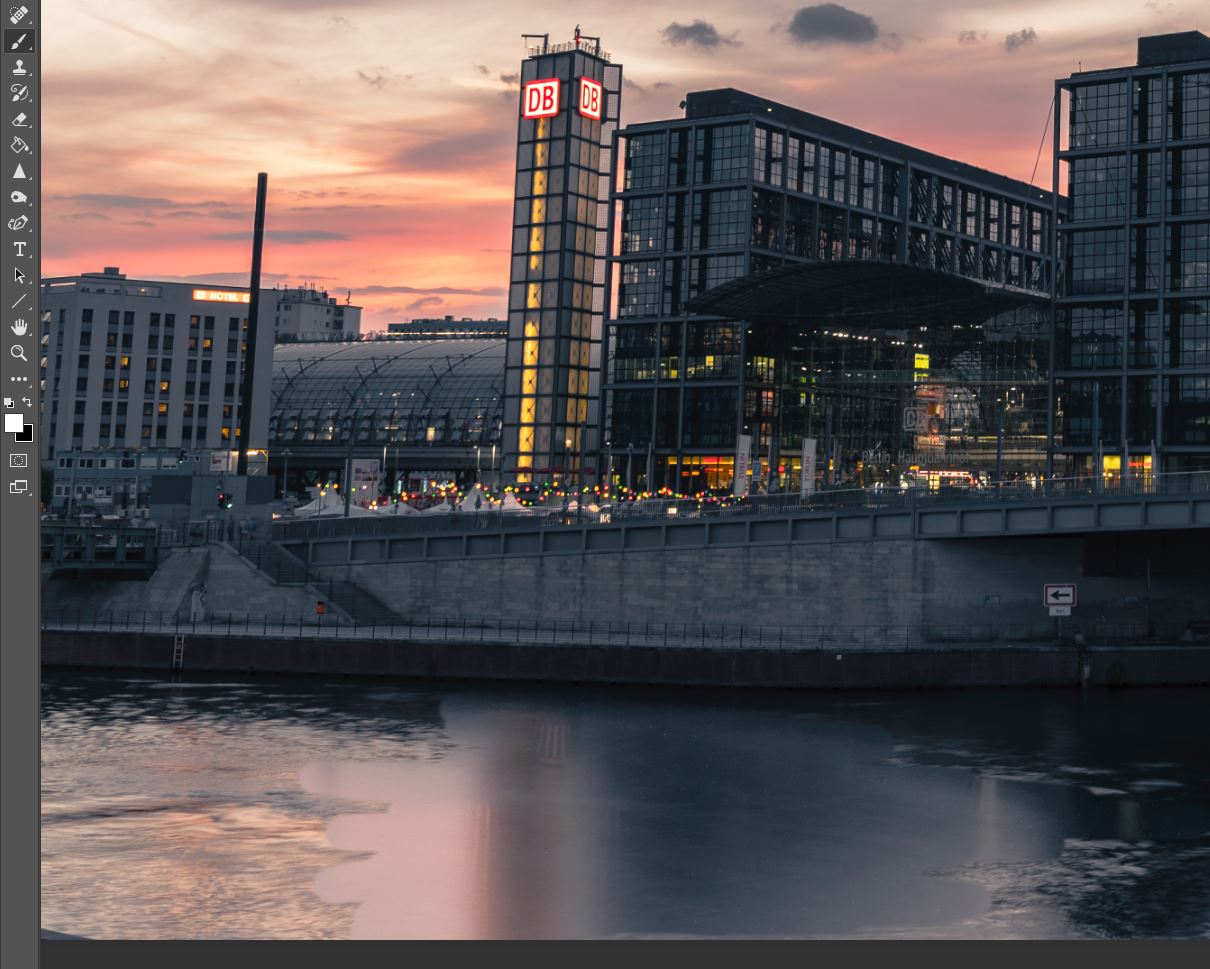
The silky water from the long exposure becomes visible after the first strokes.
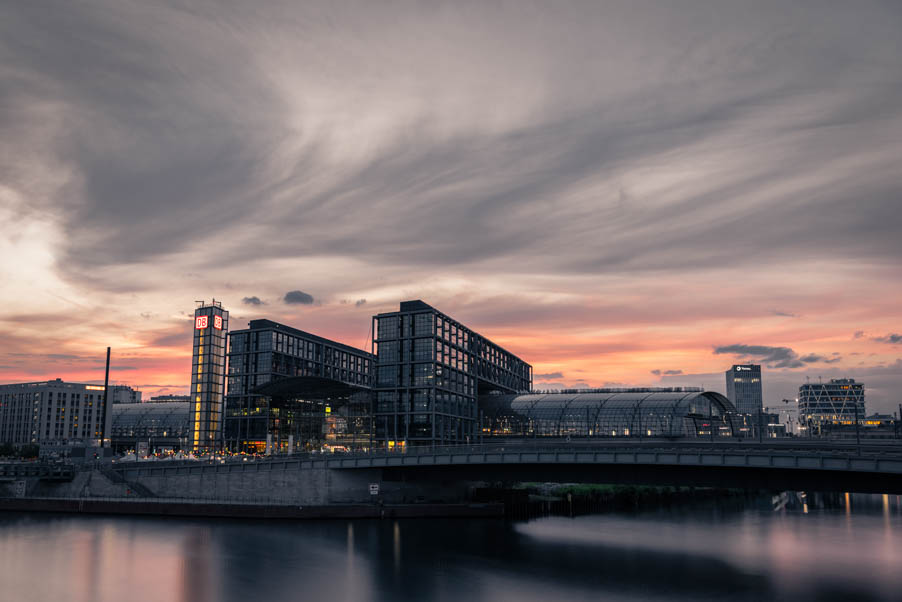
The final image.
The next step would be to remove the hot pixels from the water, it was a hot summer evening, so there are a lot of them. To know how to remove hot pixels you can read my guide here. And for composing reasons I removed the cranes, they distracted from the view of the essentials. This is a quick and easy way to blend images and should just give a guidance note for more ideas to blend images. Especially you want to combine the advantages of the HDR technique in a long exposure or vice versa.
Report
My comments