27.11.2017

I’m using the latest version of Photoshop, in this case Photoshop CC Release 19.0. For this guide I selected this photo of the Rachelsee (Rachel Lake) in the Bavarian Forest respectively three exposures of it.
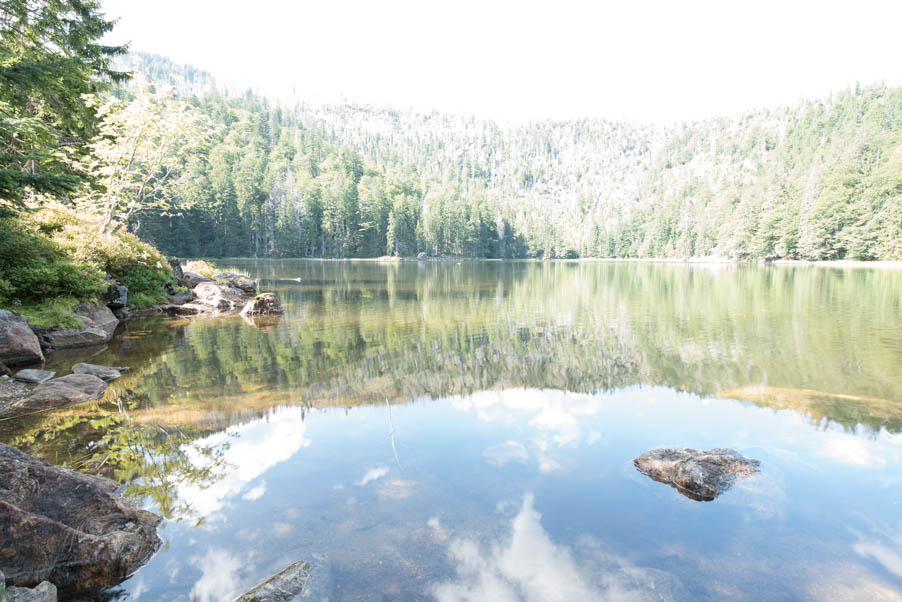
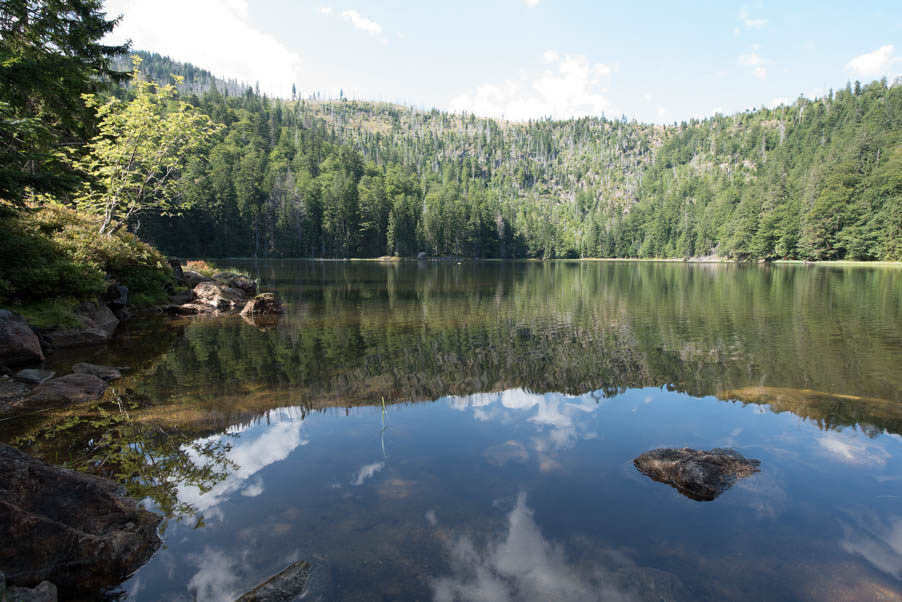
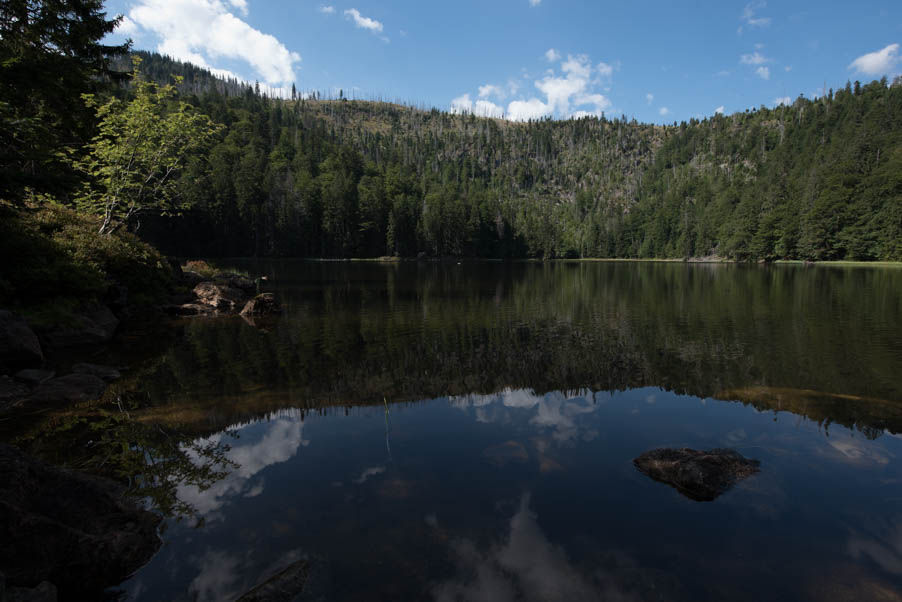
I made three exposures of this view because if I only expose for the foreground (lake and forest) the sky will be burned out. If I expose right for the sky the foreground will be underexposed. With three shots we can reproduce all the light information as they were. How to make this and what you should consider can you read in my HDR Imaging Guide.
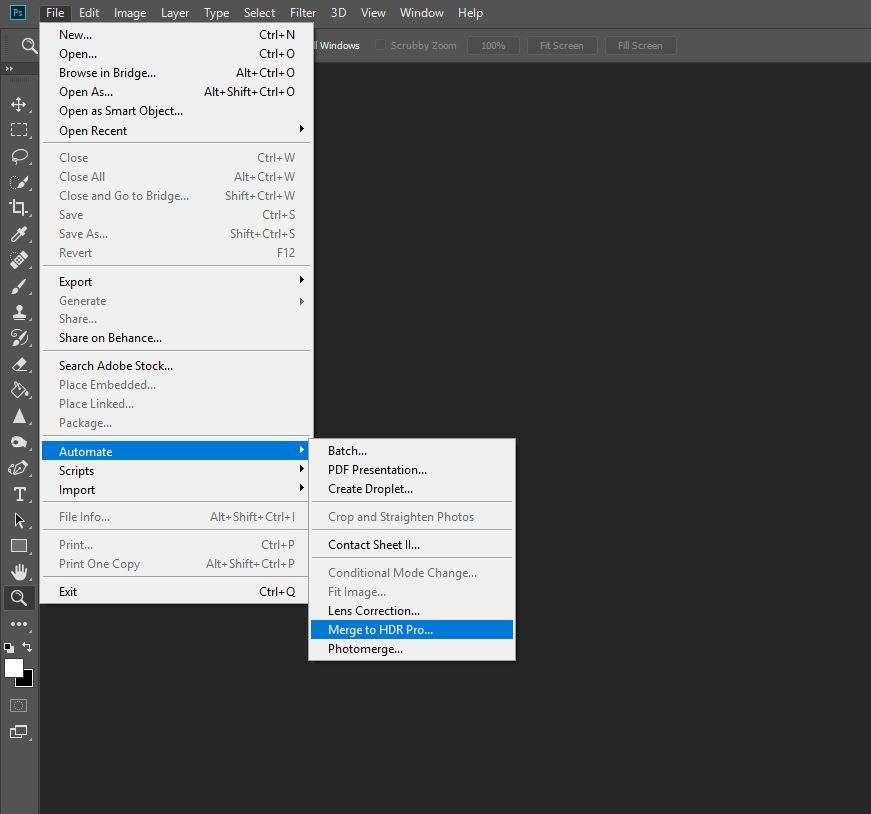
The path to the HDR tool.
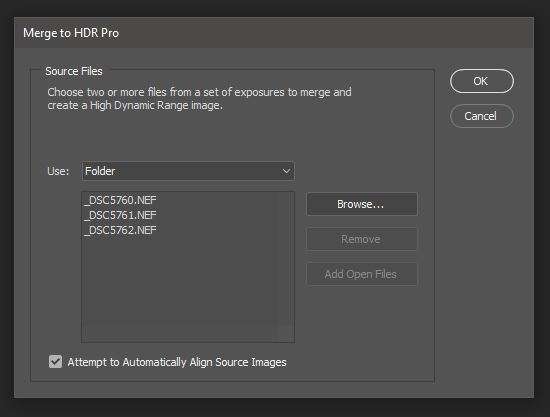
We start Photoshop and go directly to “File” and looking for “Automate” and click on “Merge to HDR Pro”. A window will open where you add your images. In my case the files are kept in a folder so I selected the whole folder. You should keep the option “Attempt to Automatically Align Source Images” activated for a fast working progress. Click OK.
Add the images for your HDR.
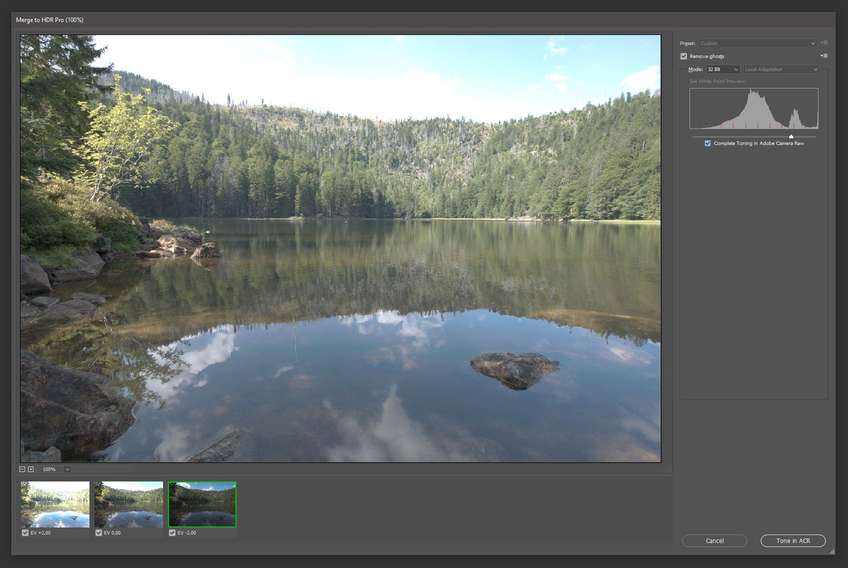
After a little patience the preview processing has ended and you can start with the first adjustments in a new window.
HDR preview window.
And here is the clue: instead of editing the image in 8 or 16 bits, we use 32 Bit in order to exhaust all possibilities and this allows us to edit the image in “Adobe Camera Raw” what is much more comfortable than the standard tools in Photoshop. In 8 or 16 bit you get the typical, for me unrealistic, "HDR look", where there are no real shadows. It is advisable to activate the “Remove Ghosts” function and the “Complete Toning in Adobe Camera Raw” should be also kept activated. “Remove Ghosts” will remove ghosting effects. These could be subjects which have moved during the three shots. In my example is this a duck which is swimming in the distance on the lake. Click OK.
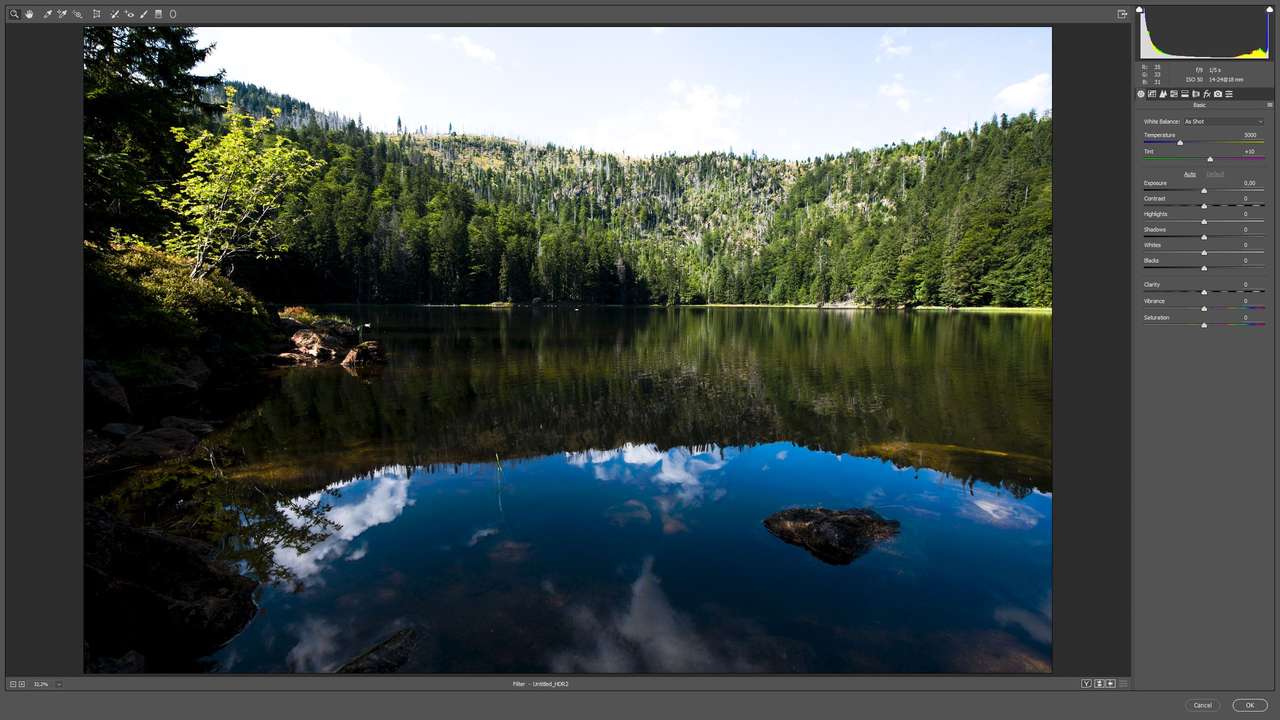
Camera raw window.
Now you arrived the camera RAW Editor, where you can edit your HDR to your taste. After editing my image looks now like this:
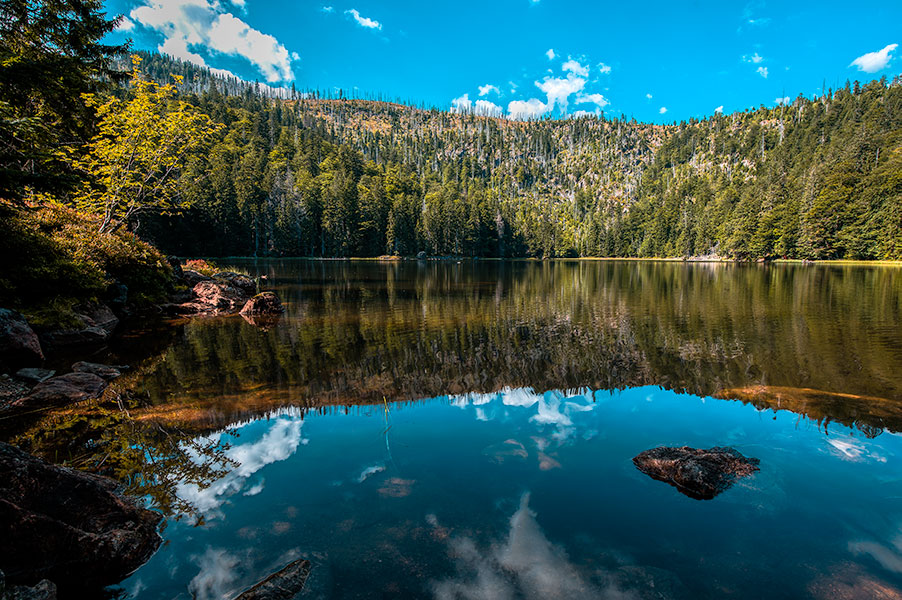
The final image.
Like the lion part in my images I use a high black value to get rich colors and I adjusted the camera calibration for a special color mood.
Tip for advanced users
If you work on a calibrated display you should set up the color gamut before you start the creation of the HDR, because the standard sRGB color gamut cannot display all colors which offers the RAW files. I recommend the ProPhoto RGB gamut to work with reliable and reproducible colors. Lightroom is using this color space internally.
This option is under “Edit” and “Color Settings…”. Choose as working space ProPhoto RGB before you start with the whole process.

Report
My comments