21.09.2018

The aperture is maybe the most creative part when you take a picture. It controls the light amount which hits the sensor (or film). If the motif is in the range of the depth of field it is sharply imaged. The smaller the aperture is set (bigger f-stop number) the more depth of field I got. The wider the aperture is set (smaller f-stop number) the more shallow depth of field I got. The parts which are in front and behind the depth of field are the blurred parts of an image – the circles of confusion. This is the part where it comes to very physical knowledge. There is no perfect sharpness, even with a perfect lens, without any aberrations there would be no perfect sharpness. Because physically it all depends at which distance something is to be viewed or mapped.
What we want achieve is the best or to be exact the sharpest sharpness impression, when we capture a motif in the camera. A circle of confusion is recognized as sharp object if they are smaller than the 1500th part of the format diagonal. Maybe you noticed that on huge billboards: If you are far away enough the billboard is sharp but if you go closer the single elements become visible which are just dots or squares and the visible image disappears. It’s all a question of the point of view.
Example
We have a full frame camera with a resolution of 9000 x 6000 pixels and mounted lens with 50 mm. We take a picture with f/8. The circles of confusion have a diameter of 0.03 mm and the depth of field is 162 mm. If I take with the same camera a picture with f/22 the size of the depth of field is at 404 mm.
At a medium format camera with a resolution of 11608 x 8708 and a 80 mm lens the circles of confusion are 0.04 mm large. If we take a picture with this one at f/8, we would have a depth of field of 98 mm. So the depth of field on a medium format camera is smaller than on a full frame or on a more smaller APS-C or micro four thirds. But you have to look at it in its entirety: the medium format offers almost a two times bigger sensor, with almost two times more pixels, if we take the Canon EOS 5D R as example with it’s over 50 megapixels. A Phase One XF with an IQ 3 digital back offers 100 megapixels.
This is a strong simplification to show a comparison, between different formats. There are many factors which determine the depth of field: sensor size, focal length, near point, far point, hyperfocal distance and the amount of pixels.
Sharpness
We leave the physical part behind us and dedicate ourselves to the sharpness. There are MTF charts of the manufacturers which show the sharpness performance of a lens. You may have noticed that almost all lenses have their sharpest performance at the aperture from 8 to 11. At these values the sharpness of the lens is well balanced from the center to the corners of the image. But this is not the range with the widest depth of field. This range or this aperture would be the maximum possible f-stop number. Let’s say we have a lens with the highest settable number of 22. If I set the aperture this high I would get the widest depth of field for my photo. But this is also the area where the diffraction blur is highest.
This diffraction blur already started maybe at f/13, depends on the lens. The depth field at f/22 is is the widest but it’s not the sharpest. And at this point you have to decide what you want, an absolutely wide depth of field or the best general sharpness. If you want to make a print, a really huge one, let’s say it have measurements of some meters, you should decide for a high aperture, because the smaller you choose the viewing distance, the more likely you will notice deficiencies in sharpness. But this shows also how relative it all is: It depends where you set the focus, how big your reproduction scale is and of course what you want to have sharp and what not.
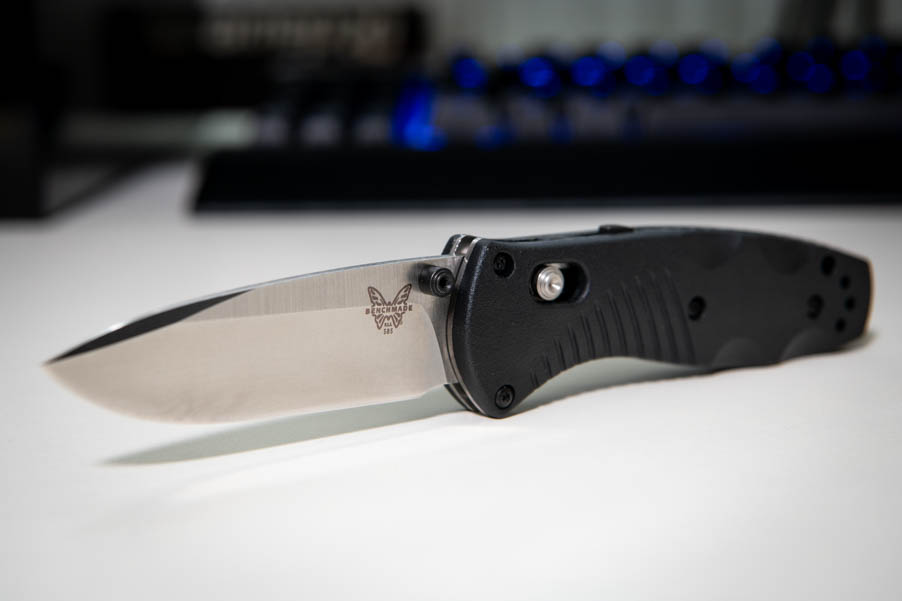 The best sharpness that the used lens (Nikkor 24-70 f/2.8E ED VR) can deliver is at f/8. The depth of field starts at the middle of the blade and ends at the lock mechanism in the grip. The knife is well isolated from the background. Shot at 70 mm.
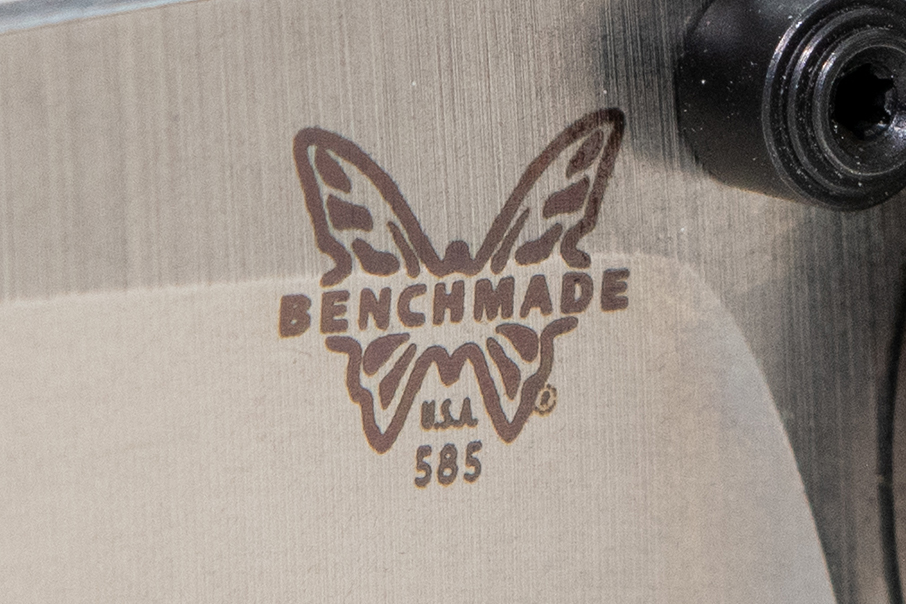 The Benchmade Logo at 100 %. Sharp and clean.
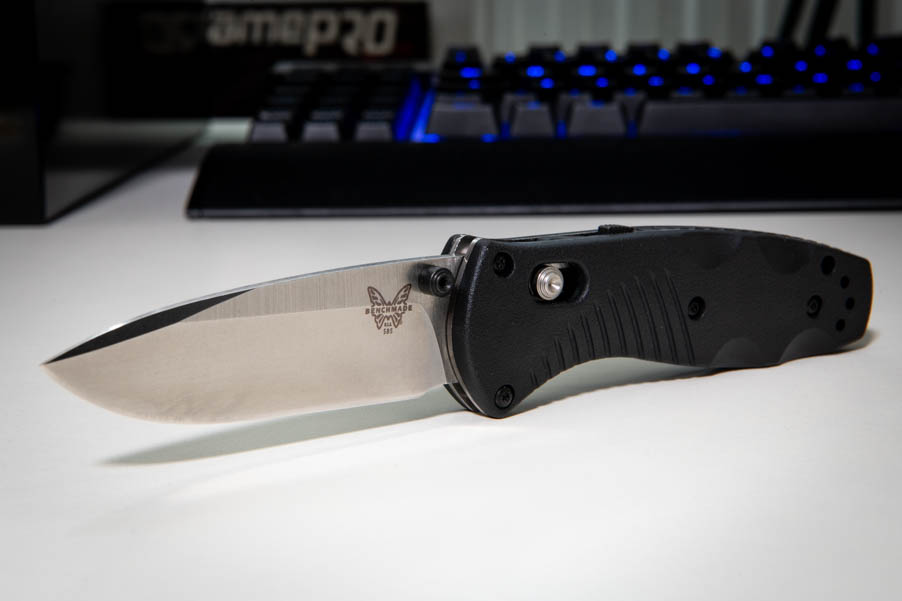 The knife at f/22. The background is much more visible and the depth of field has increased drastically but for the price of the general sharpness what you can see in the 100 % view.
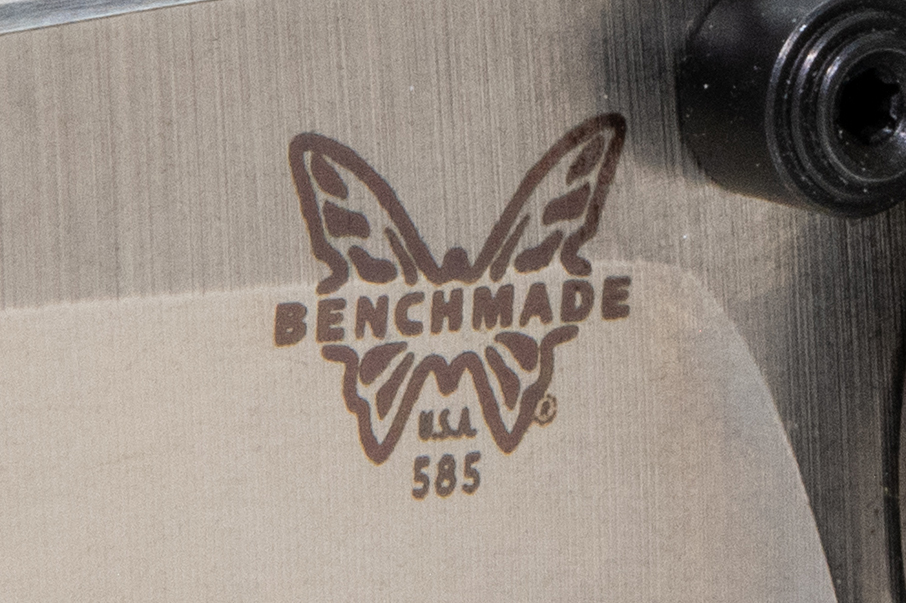 The logo has lost sharpness at f/22 because of the diffraction blur at such a high aperture.
One way to bypass all this, i.e. to maintain optimum sharpness and to sharply reproduce the motif over the entire image, would be the technique of focus stacking. Unfortunately, this method can only be used for still images, i.e. in macro and landscape photography. But most of all it is a common practice in macro photography to show (dead) insects completely sharp. The editing time is also a disavdvantage. It takes time to merge one single photo in Photoshop.
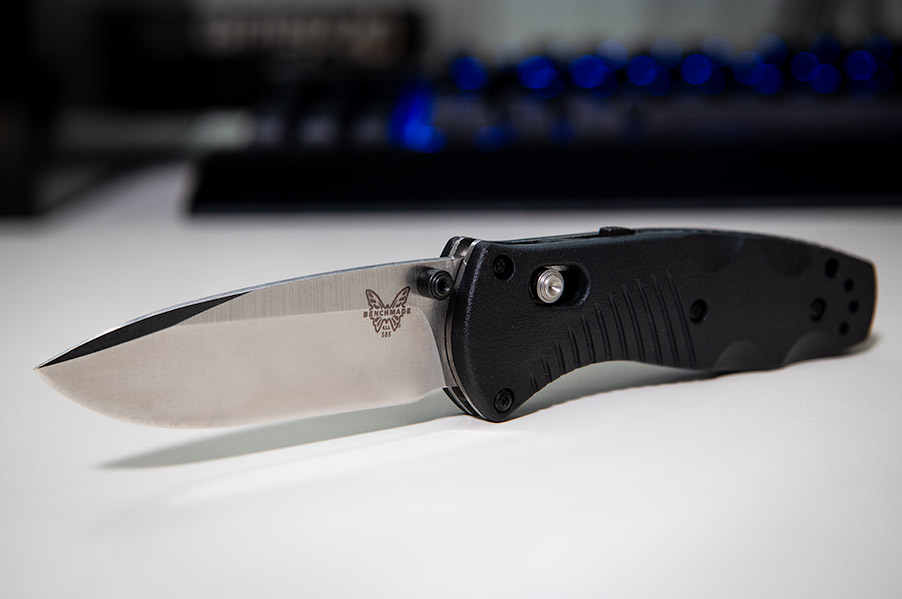 A focus stack made of 20 shots. You have the advantages of a wide open and a closed aperture: a well isolated motif and wide depth of field starting at the blade tip.
 The best compromise between depth of field and general sharpness. All 20 shots were made at f/7.1.
 All three versions compared at 100 %.
All photos were taken with the Nikon D850 on a tripod and the Nikkor 24-70 f/2.8E ED VR at 70 mm with an ISO of 400. These are converted RAW images to JPEG at 100 % quality.
It is important to have in mind, that the creative decision is over the technical. If I want to have these flowers on the ground very present in my foreground and the background should be filled with the mountain range which are in the far distance, it is technically impossible to get everything in this picture sharp with one shot. But this won’t make the picture make look bad. I can set the flowers or the rest in focus, it’s just a creative decision.
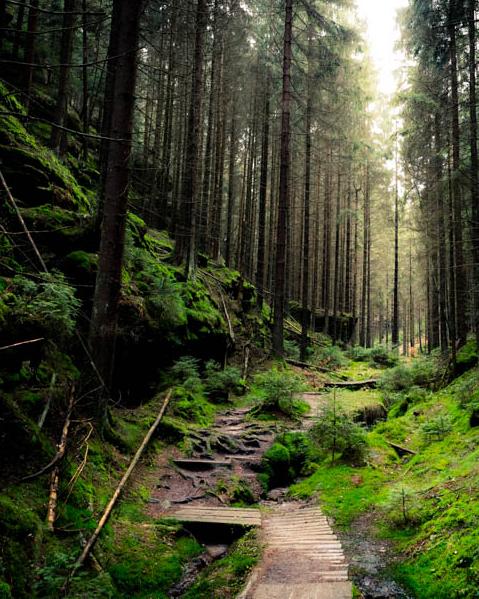
If you have hoped for nice tips, how to get the best sharpness in each shot or have hoped for the millionth hyperfocal distance guide I have to disappoint you. This is just an overview and some theory how this thing with the sharpness works. But here is one last tip to wich allows you to keep your hyperfocal distance chart in the pocket. Estimate the distance of your closest subject which should be sharp, then double the amount and focus there. Example: some rocks which are 1 meter away, set the focus to 2 meters and everything from the rocks will be sharp. This works well for landscape photography.
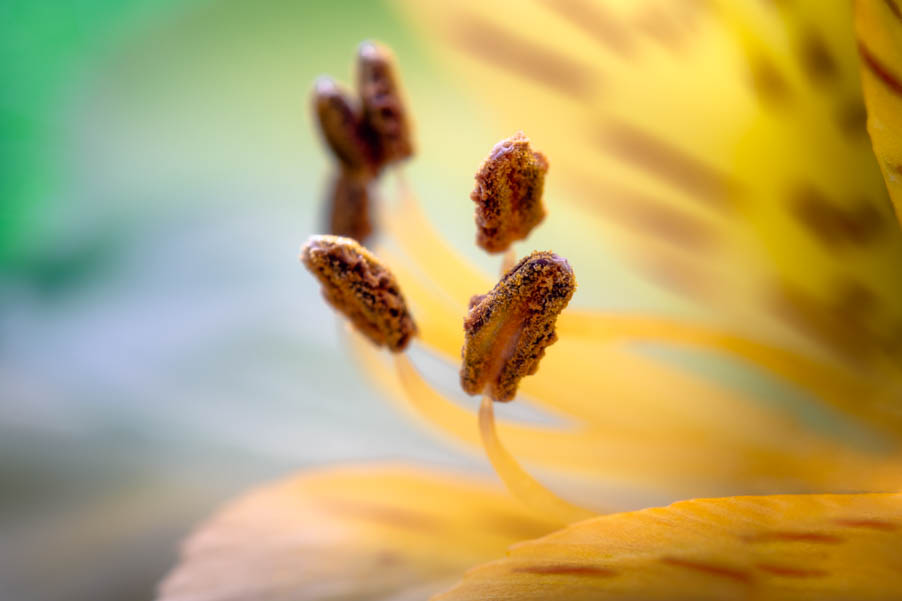 Taken at f/22. A very small aperture, but on the macro level if not even a relatively open aperture.

Report
My comments